 Help Center
Label-to-label mapping allows automatic data transfer between matching fields across modules (e.g., from a Project to a Job) — eliminating the need for redundant data entry.
Benefits
- Label-to-label mapping saves significant time by automatically populating fields in child modules with data from parent modules.
- It reduces data entry errors by ensuring consistency across different modules in your workflow.
- It improves data integrity by maintaining consistent information across related records.
- The feature supports scalable workflows by making it easier to manage large volumes of records with interconnected data.
⚠️ Important:
Field Label (name) must be spelled exactly the same in both template.
Ensure that the field types are the same (e.g., both are set as text, dropdown, date, etc.).
The mapping is one-directional (top-down), e.g., Project ➡️ Job, not the other way around.
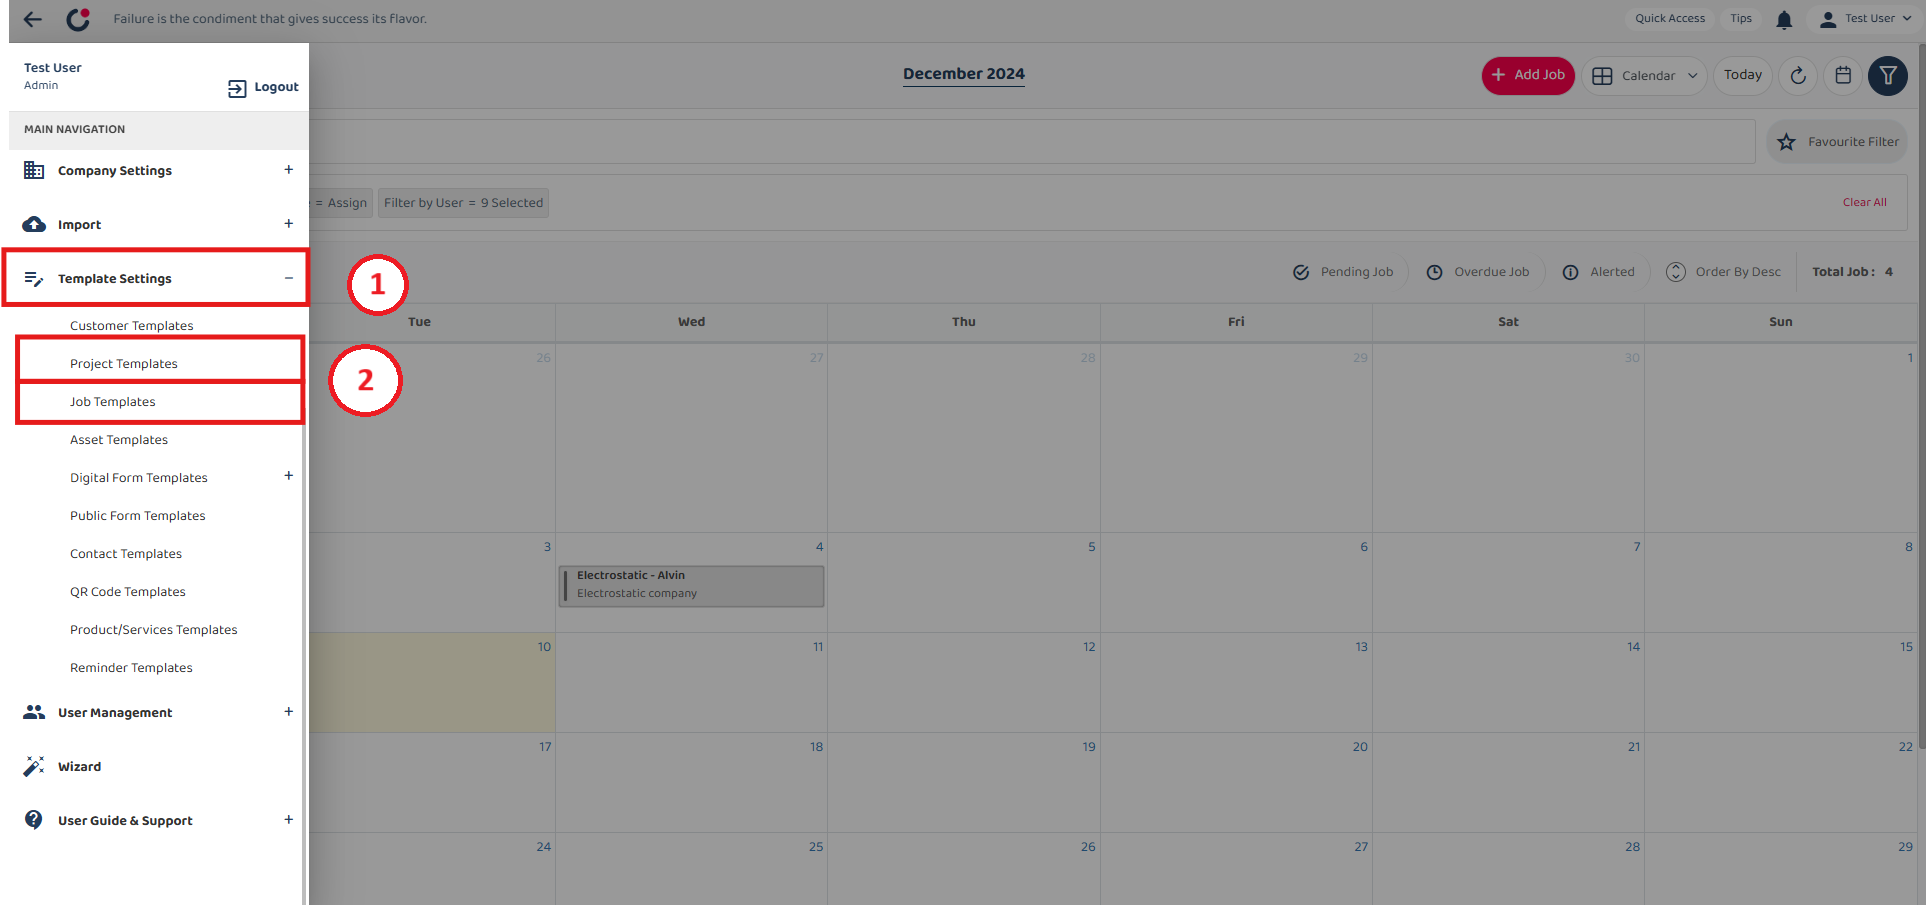
- Select left corner menu icon to open sidebar.
- Select ‘Template Settings’, under it select and open both ‘Project Template’ and ‘Job Template’.
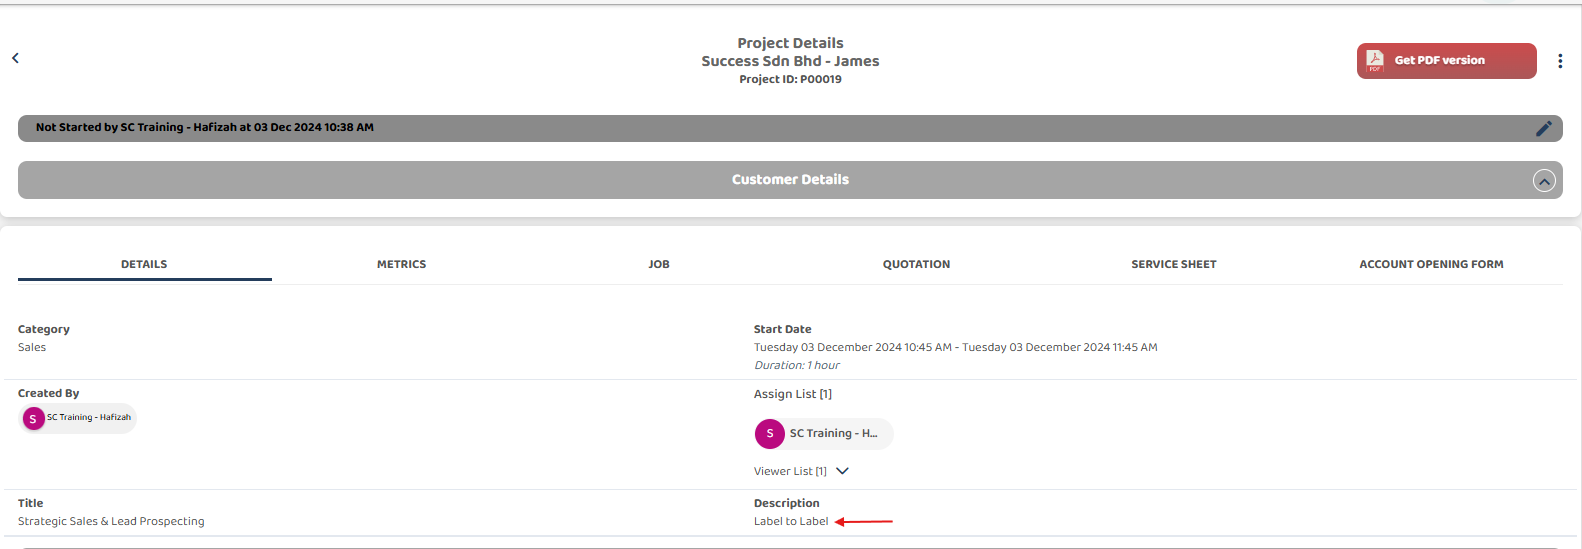
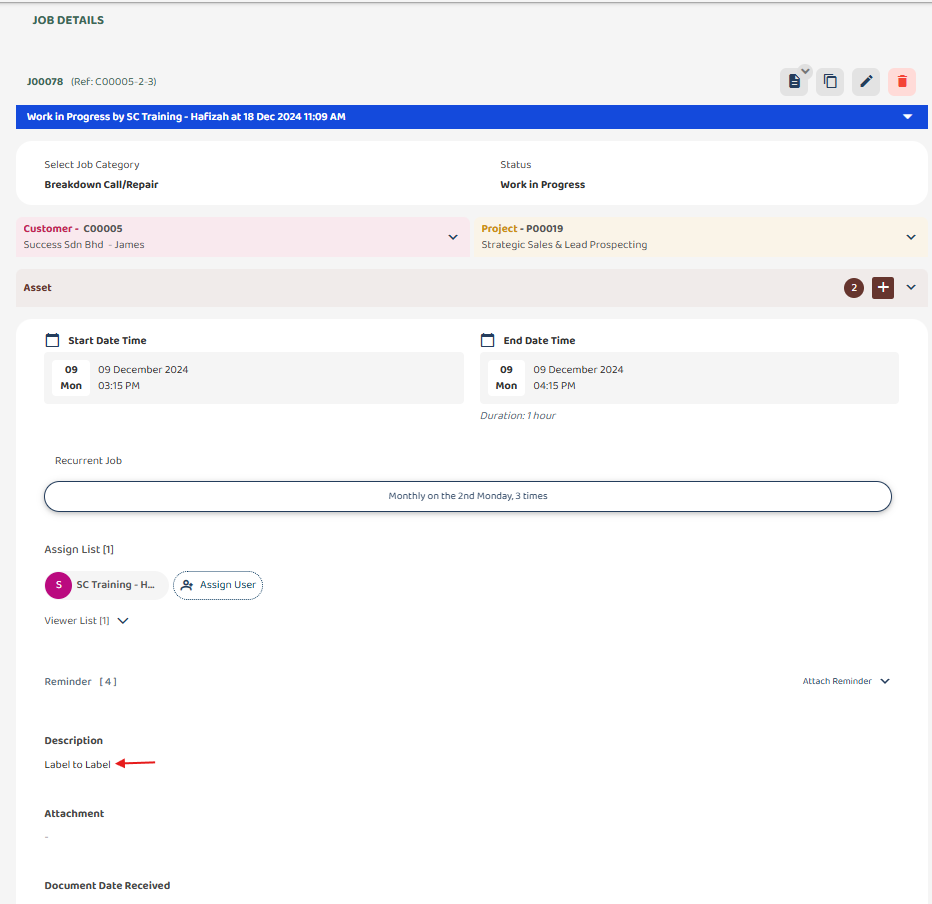
- Name the fields in the Project and Job templates exactly the same for correct label-to-label mapping (e.g., ‘Description’).
Project Template Setting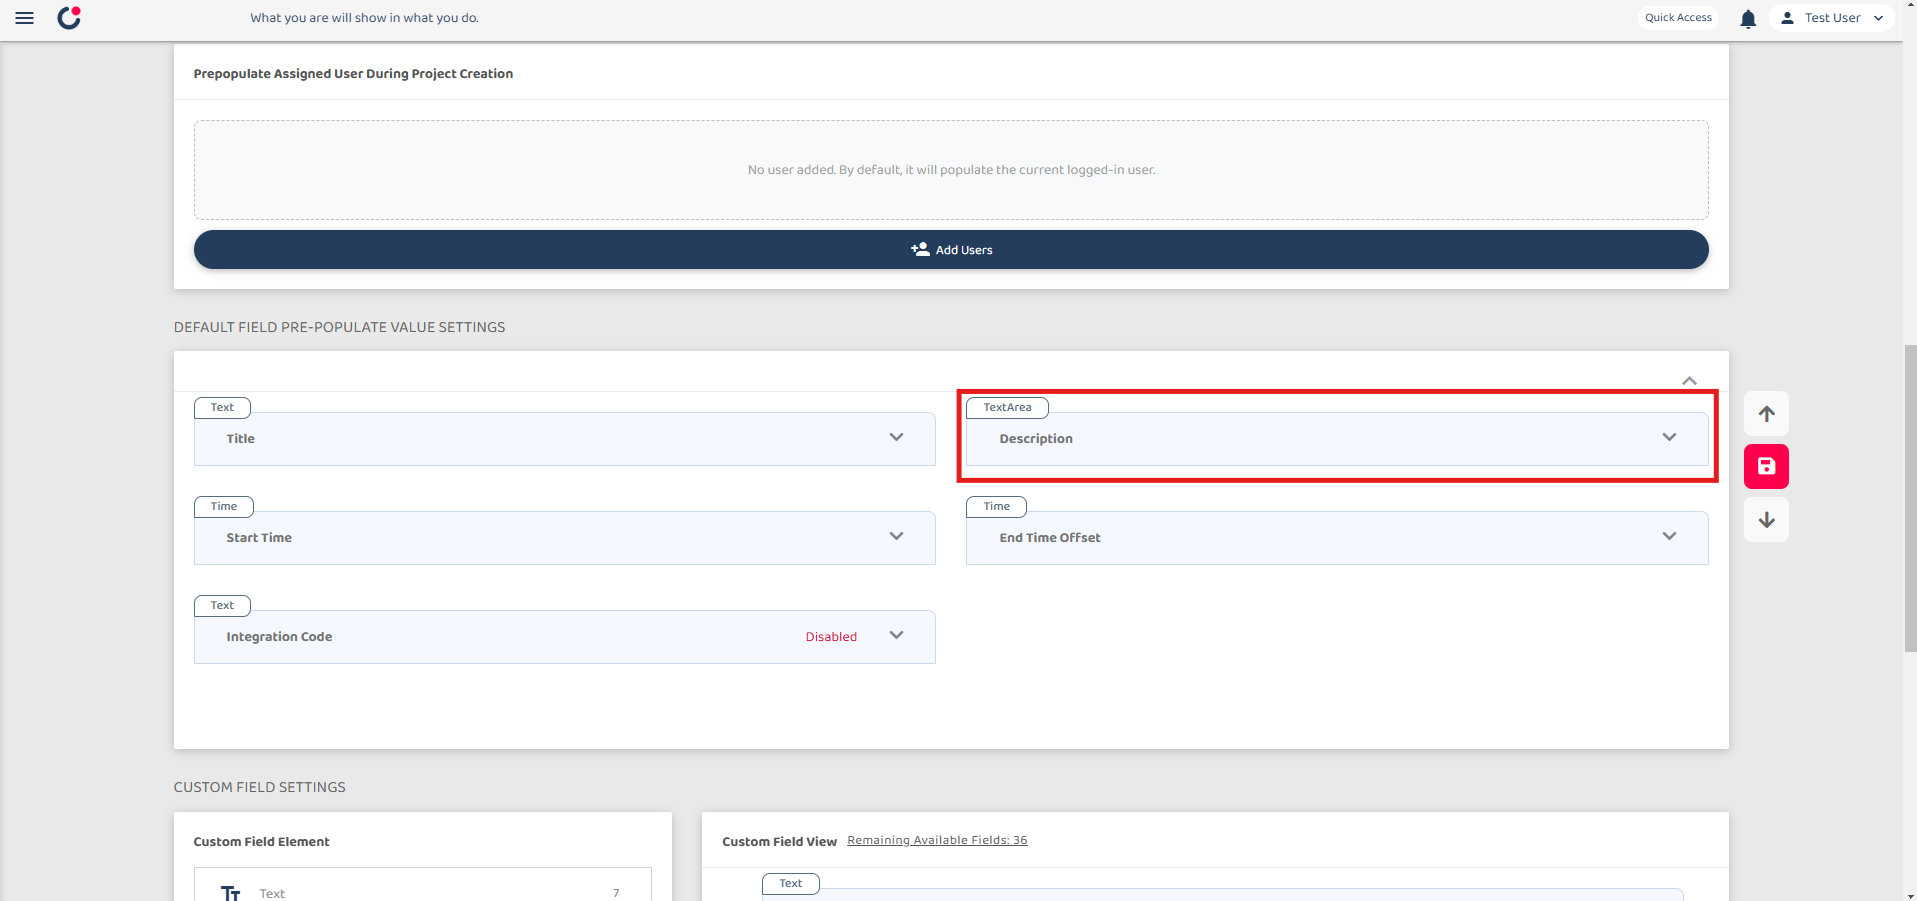
Job Template Setting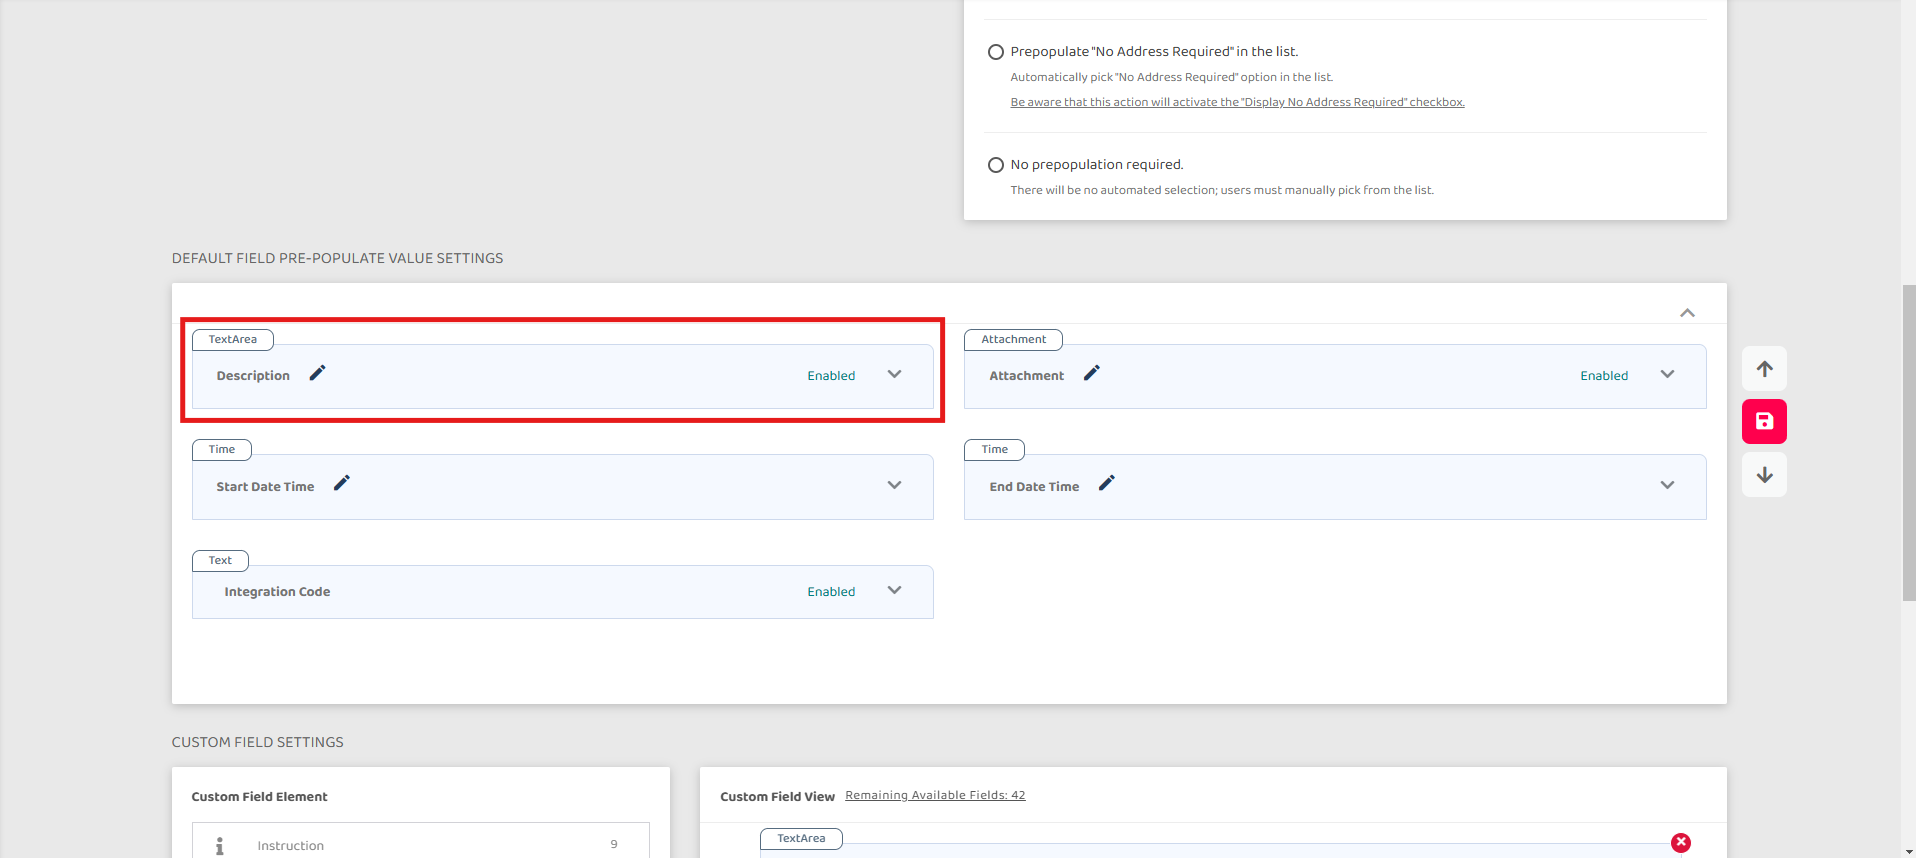
How Label to Label works ?
- The values entered in the Project level during Project creation will automatically populate in the corresponding fields at the Job level during Job creation.
Related Articles
- How to Add New Project?
- How do I Import New Customers?
- How to Import New Product/Services?
- How do I Import New Asset(s)?
- How to Import New Unit of Measurements (UOMs)?
- How to Import New Contact(s)?