 Help Center
The Asset Bulk Update feature allows you to update existing asset records in batches. This is useful for maintaining accurate and consistent data across your asset inventory, such as updating warranty information, statuses, or attachments—all without editing records one by one.
*Note: This function is for editing existing assets only. To add new assets, refer to the “How to Add New Asset” article linked below.
Benefits :
-
Quickly update warranty, model, status, or assigned customer/project
-
Maintain up-to-date and consistent asset information
-
Reduce time spent on manual data entry
-
Ensure clean and unique asset records
With these benefits in mind, follow the steps below to perform your asset bulk update correctly.
-
At the desktop site’s navigation bar, go to Import > Asset Bulk Update.
Do Asset Bulk Update here: https://system.caction.com/assetbulkimport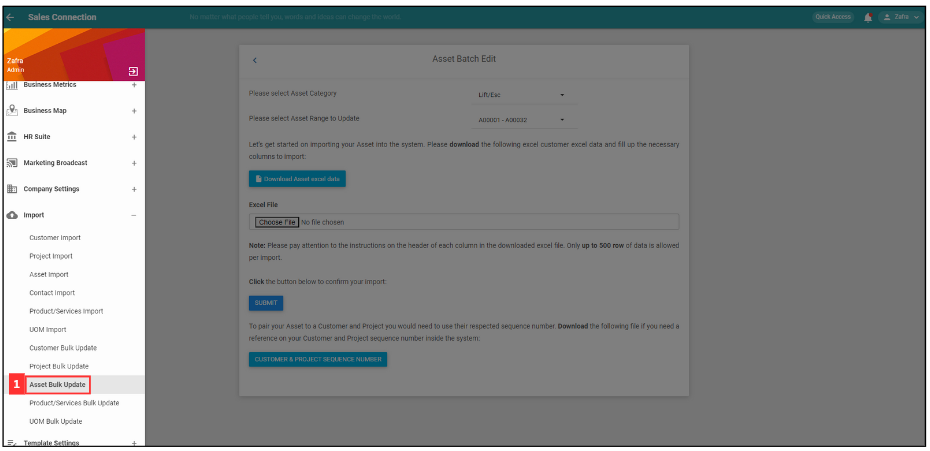
-
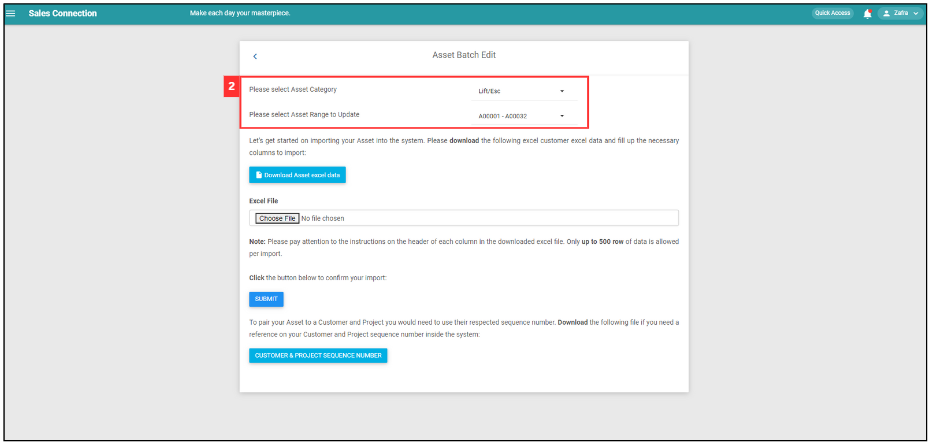
Select for the Asset Category and Asset Range to Update that you want to update.
-
Click “Download Asset excel data”.
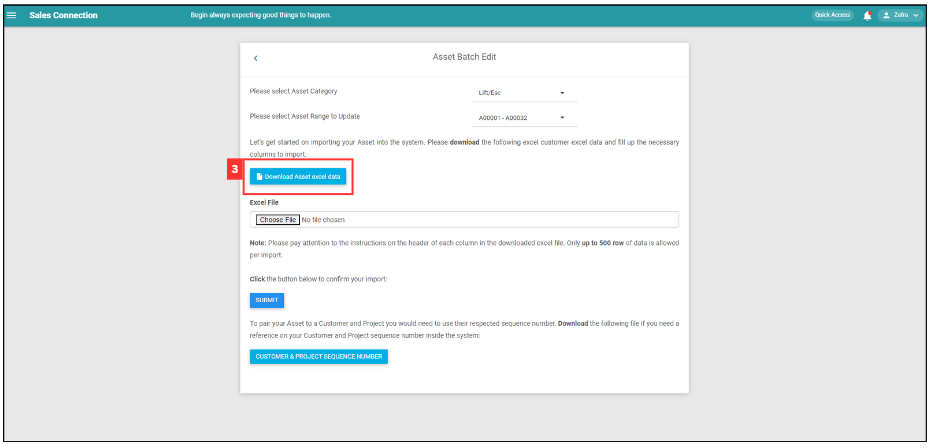
*Note: This file cannot be reused after doing Update previously. Always download a new “Download Asset Excel data” when doing Asset Bulk Update.
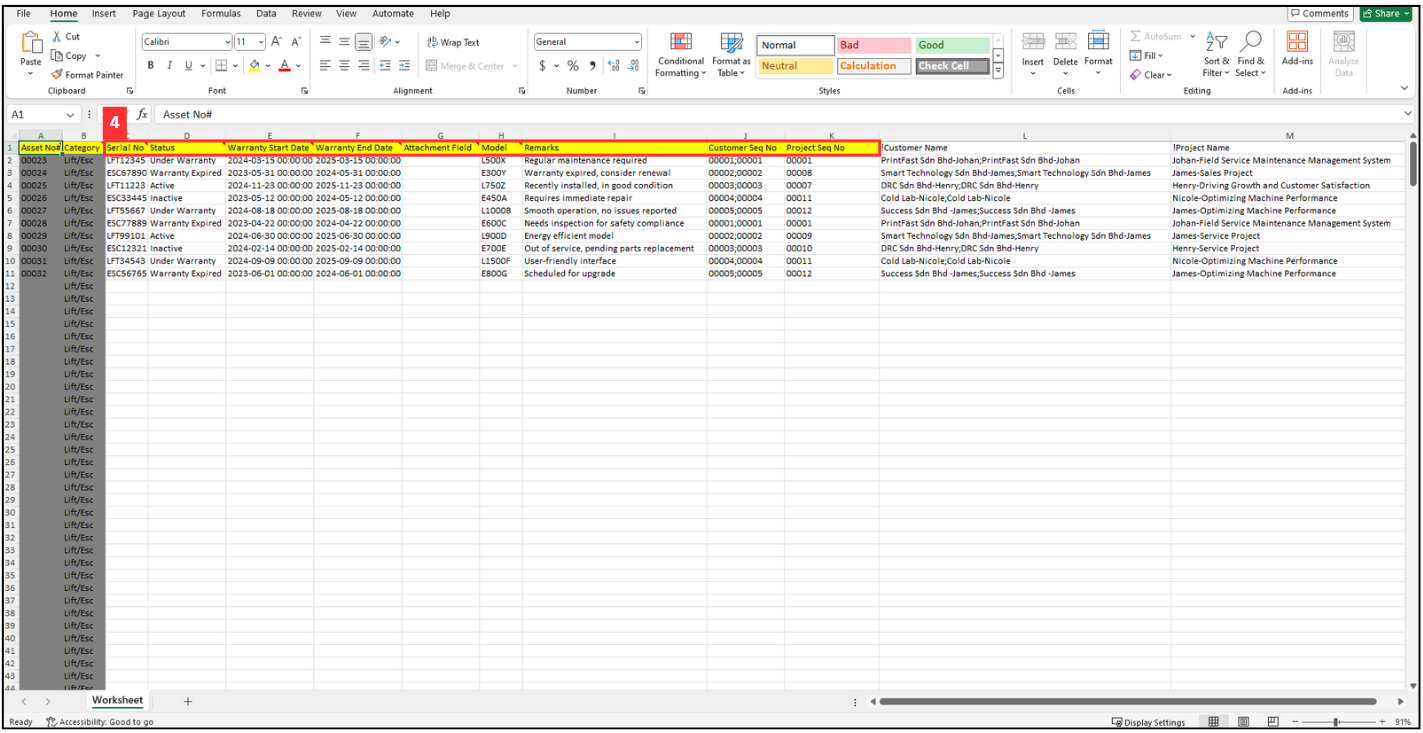
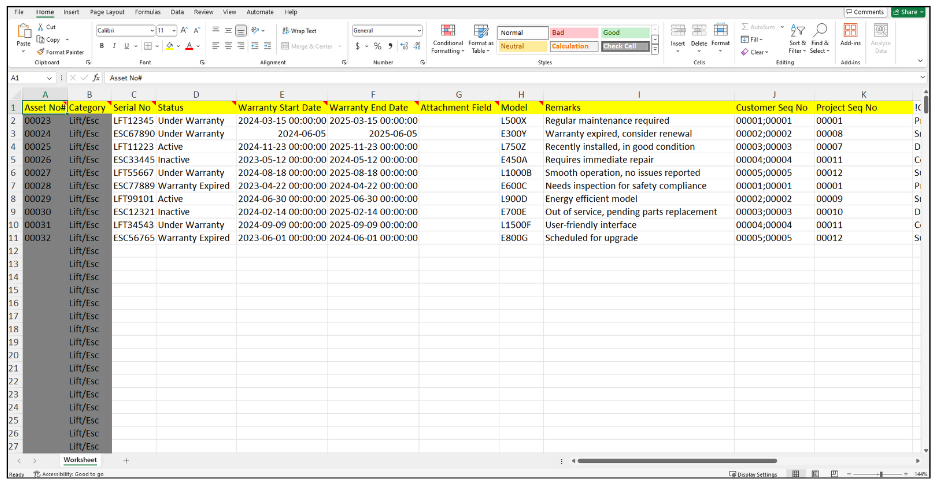
- Fill out the details of asset updated.
a. Examples of details include:
- Serial No
- Status
- Warranty Start Date
- Warranty End Date
- Attachment Field
- Model
- Remarks
- Customer Seq No
- Project Seq No
*Note: Asset No, Category, Customer Name, Project Name can’t be edited in this excel file. Column headers in Excel file may vary depending on your system set up. Data in Column C must be Unique and is compulsory to fill in.
-
Make sure all the information of the asset updated is correct and save the file.
-
Go back to the asset bulk import page and choose the correct file by clicking “Choose File” to import.
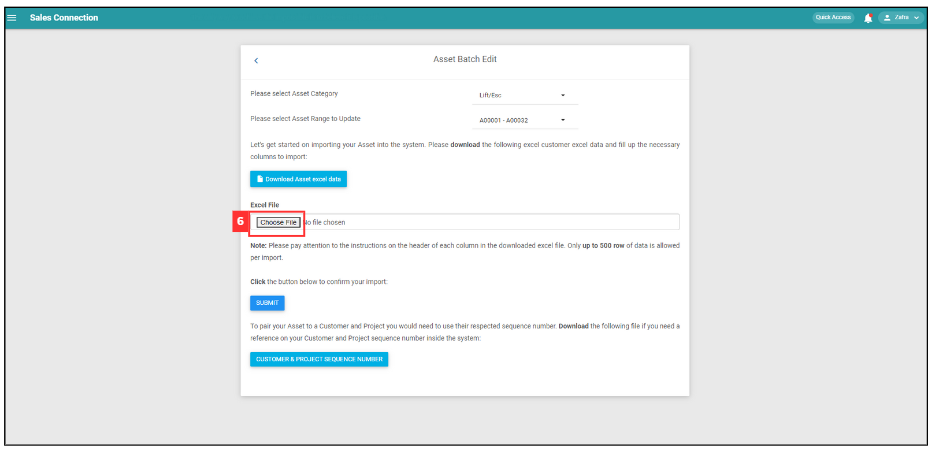
*Note: Make sure select for the correct asset category and asset range to update.
-
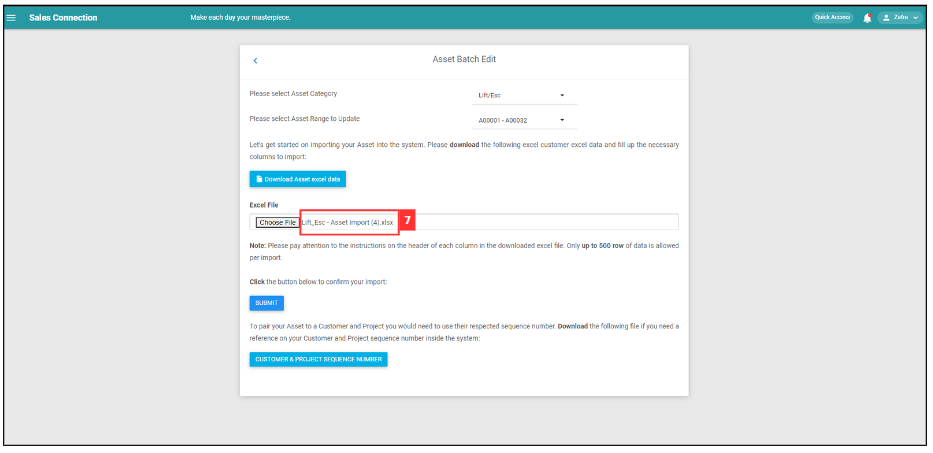
Make sure the file uploaded is correct.
-
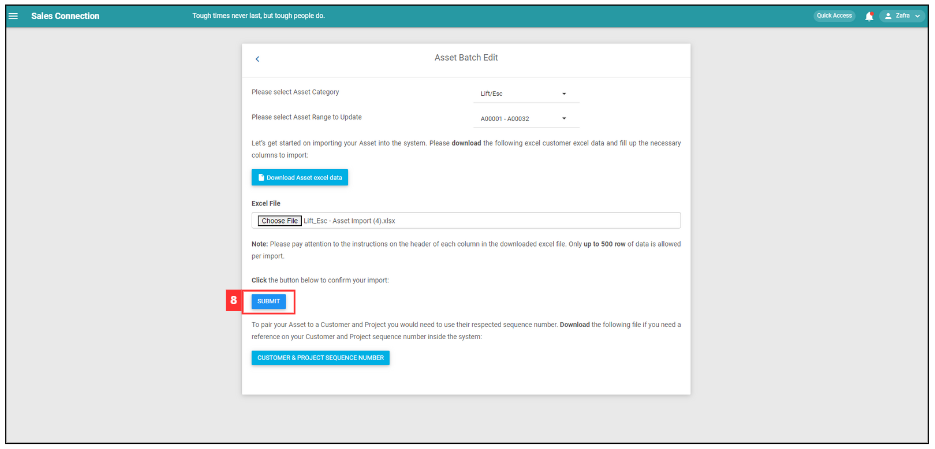
Click on the “Submit” button.
-
Click “Yes” to confirm the action.

-
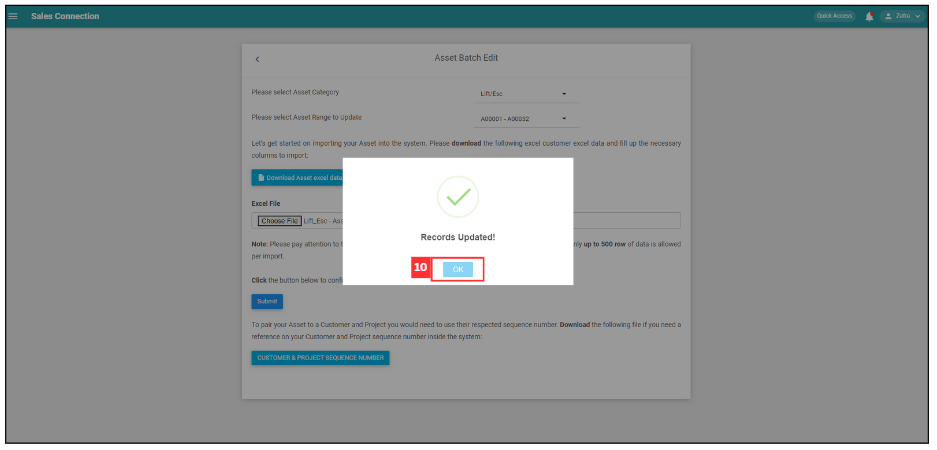
Click “Ok” and the asset updates have been uploaded successfully.
Related Articles