 Help Center
The commenting feature with photo or attachment capabilities allows team members to share visual information and files directly within job records. This functionality enables users to provide updates that include images of work completed, documents related to the job, or any other visual information that helps communicate job status or requirements effectively.
Benefits
-
Adding comments with photos or attachments enhances communication by visually documenting job progress, issues, or completion with images that provide clear context.
-
This feature improves collaboration by sharing important visual information instantly with your entire team.
-
It improves customer transparency by sharing visual updates of completed work directly with customers when needed.
-
The system provides multi-format support by allowing various file types including photos, documents, and other relevant materials.
Navigate to the section by clicking it.
Mobile:
-
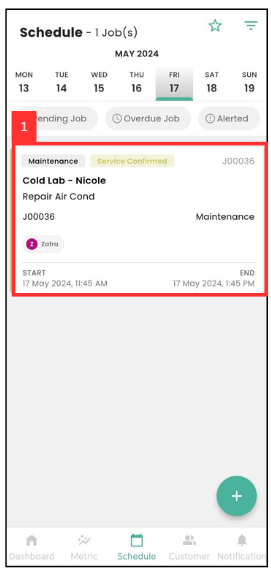
In the “Schedule” Page, click on the job that you want to comment on.
-
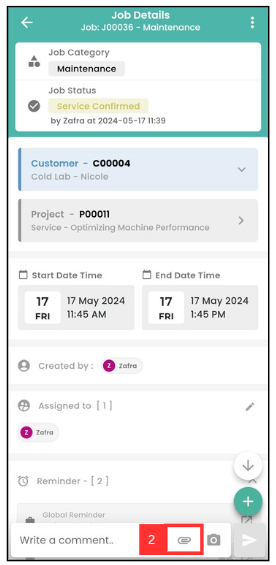
Click the attachment icon.
-
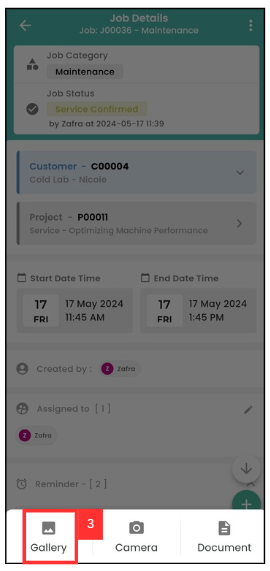
Click the “Gallery” icon.
-
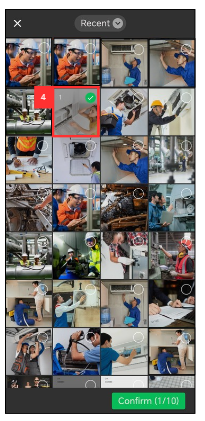
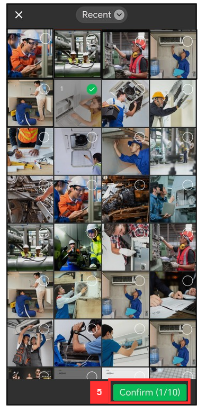
Select the photo that you want to send.
-
Click “Confirm”.
-
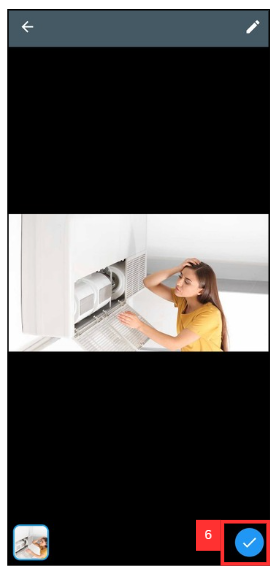
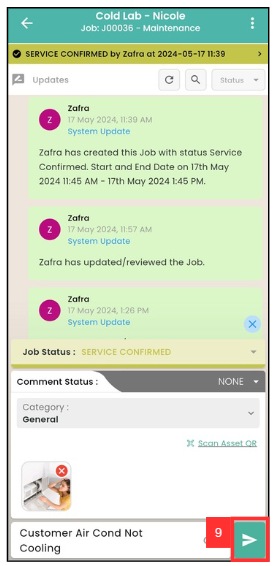
Click the tick icon to confirm sending this photo in the comment.
-
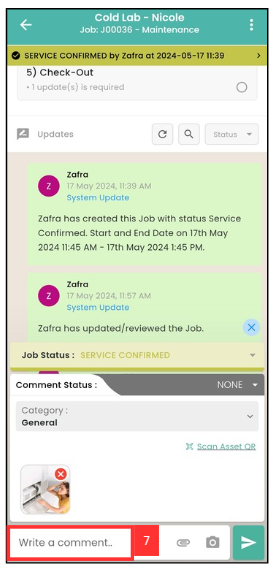
Click the comment area.
-
Write your comment.
-
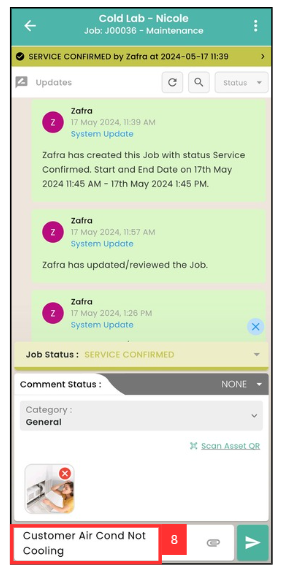
Click the send icon.
-
The result will be shown as picture below.

Desktop:
-
To comment with attachment in website, go to the desktop site Main Navigation > Business Management > Schedule > Job Schedule.
Open the Job Scedule Page: https://system.caction.com/activity/scheduler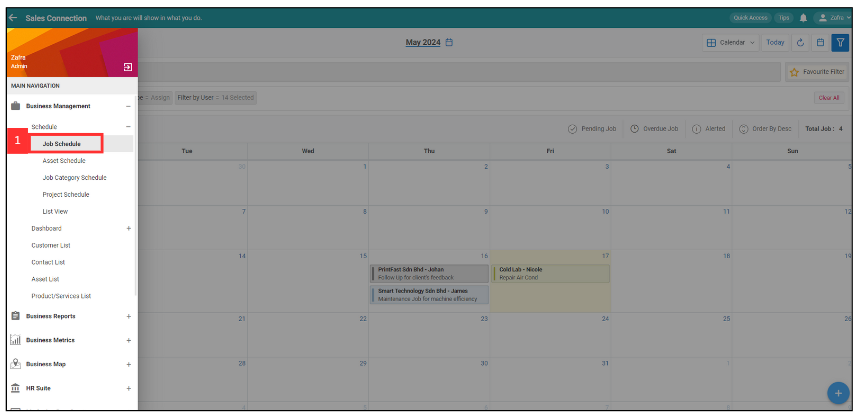
-
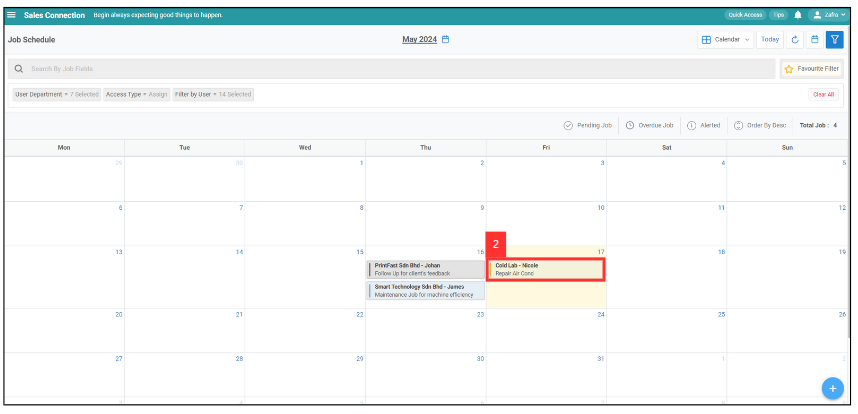
Select the job that you want to comment on.
-
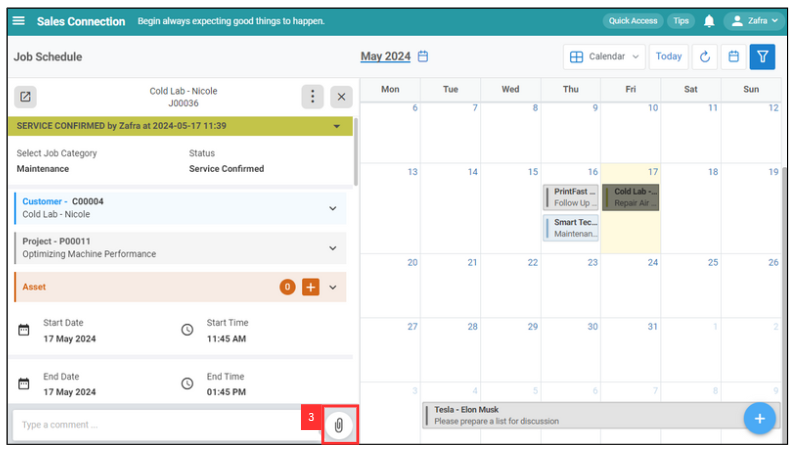
Click the attachment icon.
-
Choose the attachment that you want to upload as a comment.

-
Click the comment area.
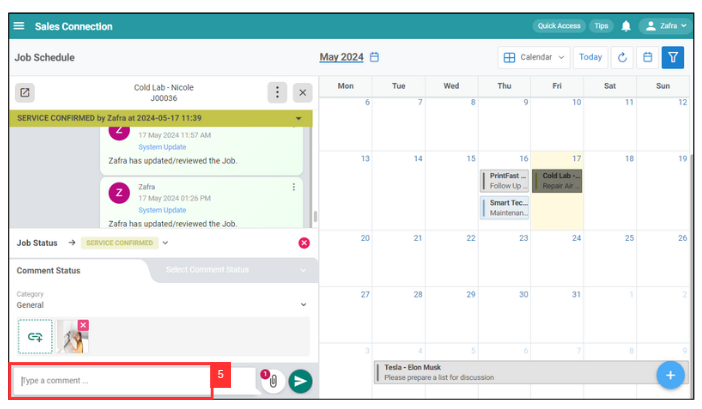
-
Write your comment.
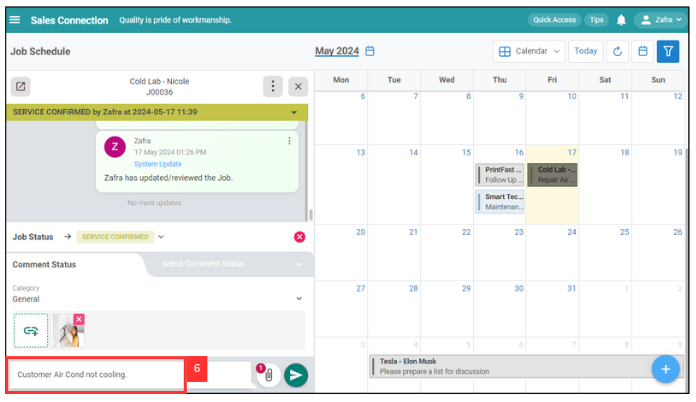
-
Click the send icon.
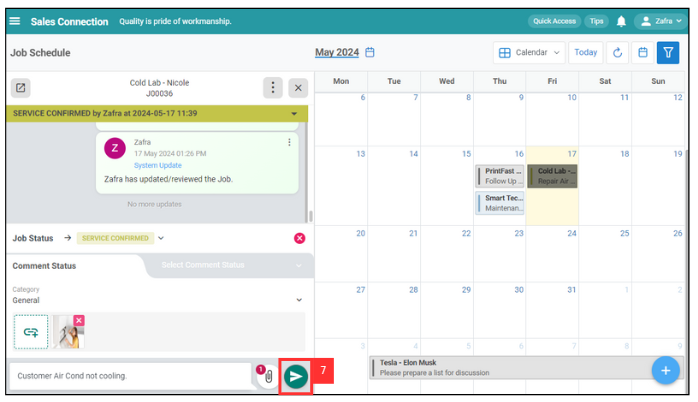
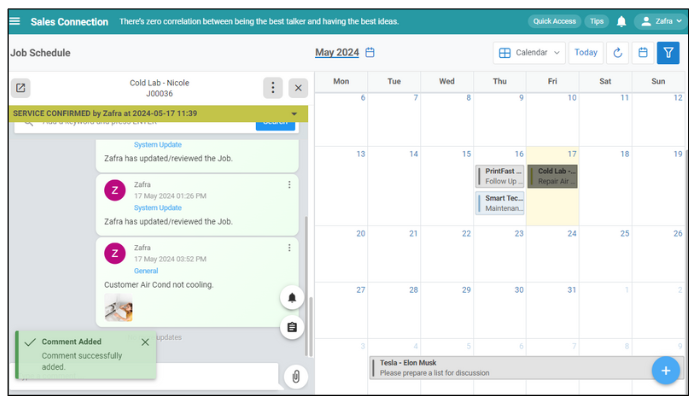
- The result will be shown as picture below.
Related Articles