 Help Center
The Business Travel (Table View) page in Caction offers a detailed tabular representation of business travel records. It includes comprehensive information such as dates, users, check-in and check-out times, GPS accuracy, notes, and travel reports. Users can customize the displayed columns, apply advanced filters, save favorite filters, and export data for reporting purposes. This view is particularly useful for in-depth analysis and record-keeping.
Benefits:
- Provides an extensive view of travel records with multiple data points for thorough analysis.
- Users can tailor the table to display specific columns relevant to their needs.
- Allows exporting of travel data for external reporting, auditing, or record-keeping.
- Facilitates easy tracking and management of travel records, enhancing administrative efficiency.
Navigate to the section by clicking it.
-
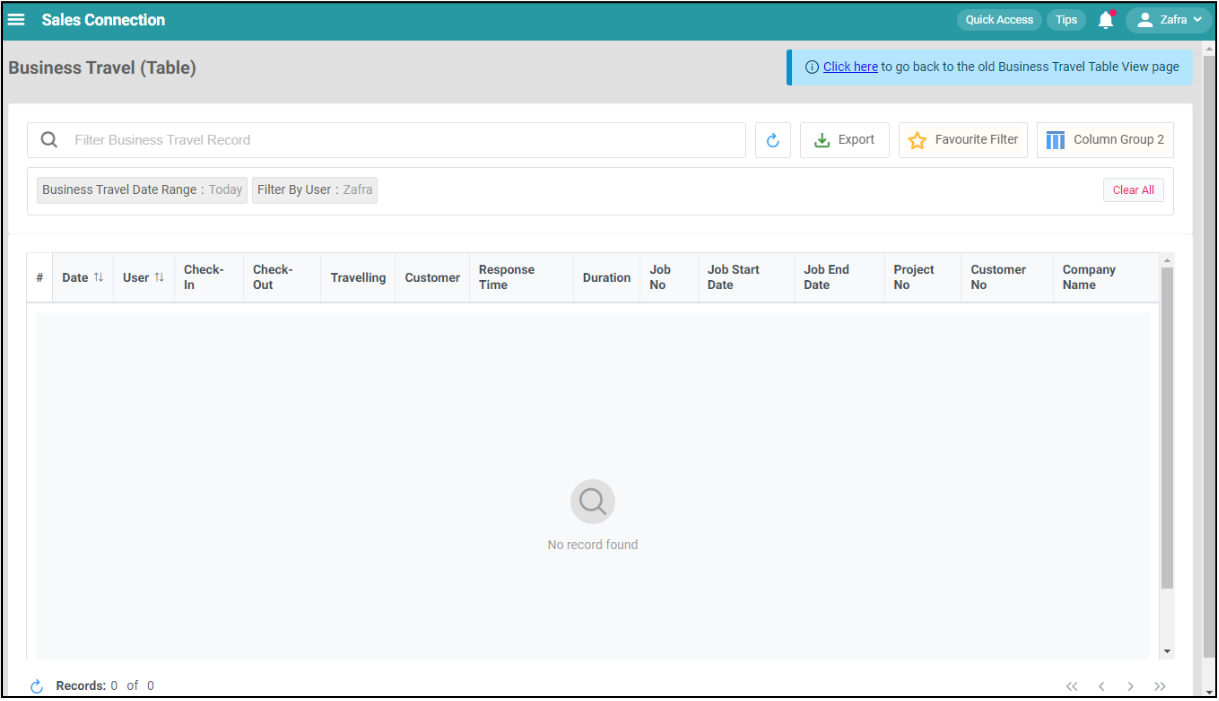
At the desktop site navigation bar, go to Business Map > Business Travel (Table).
Open Business Travel (Table) Here: https://system.caction.com/business-travel/table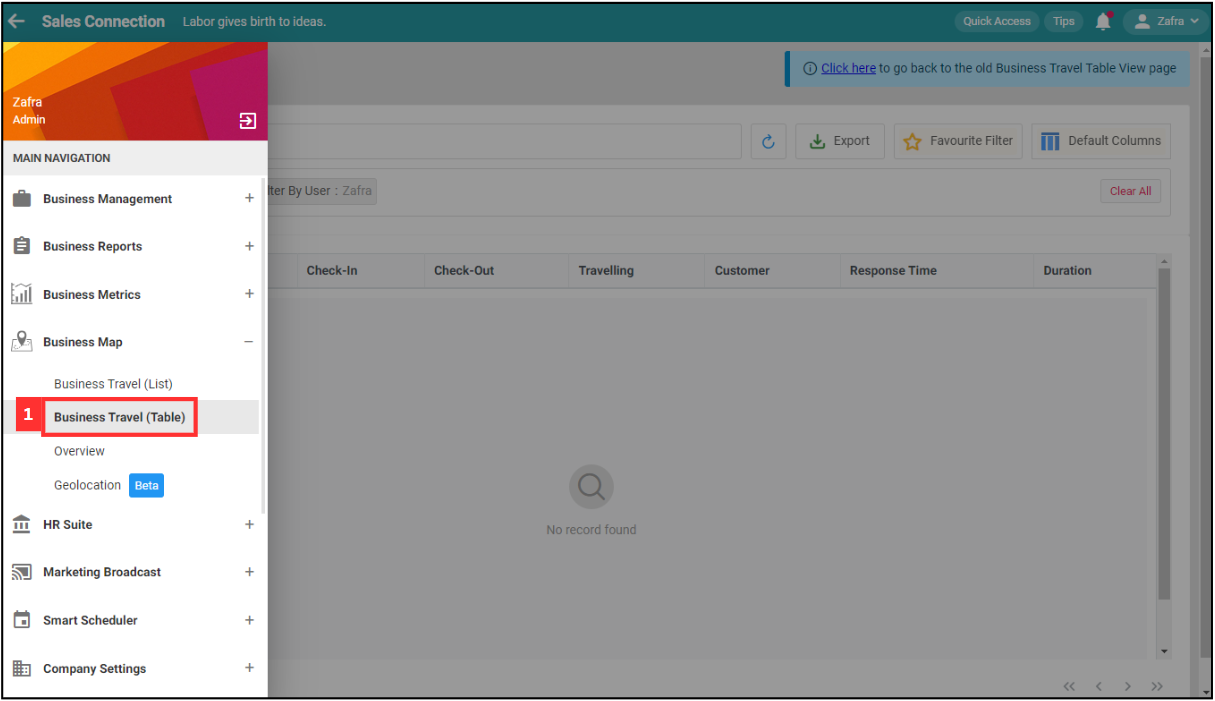
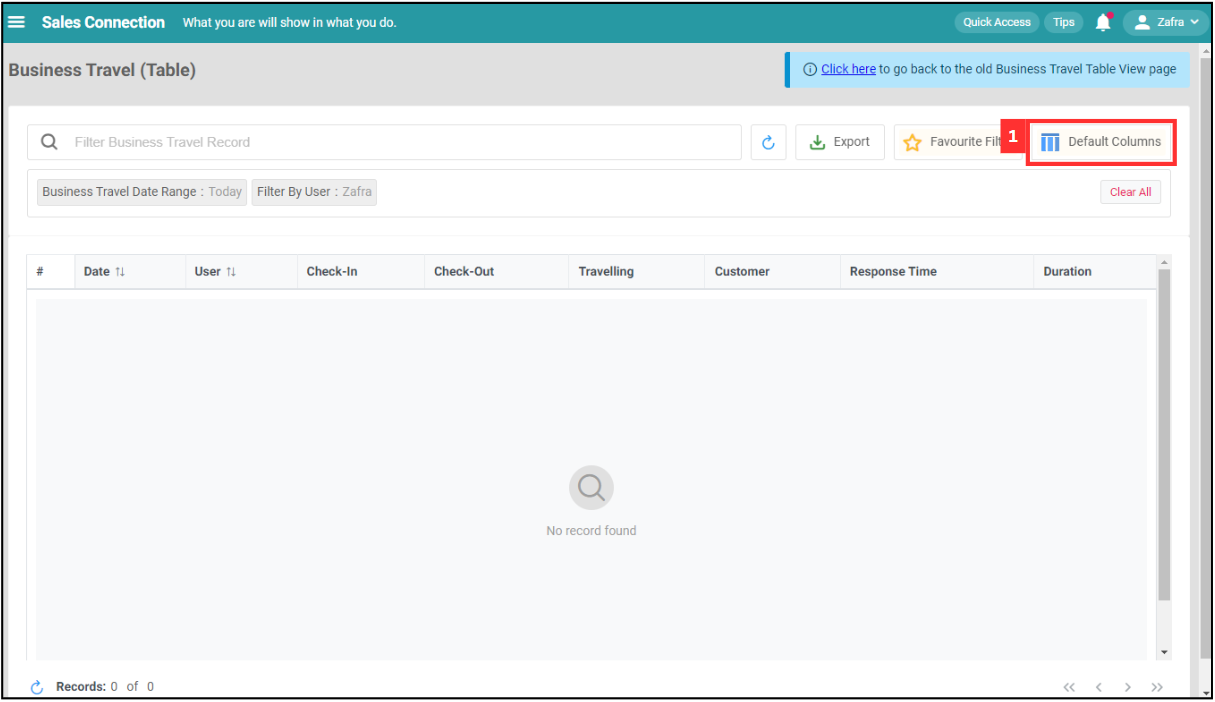
Default Columns
-
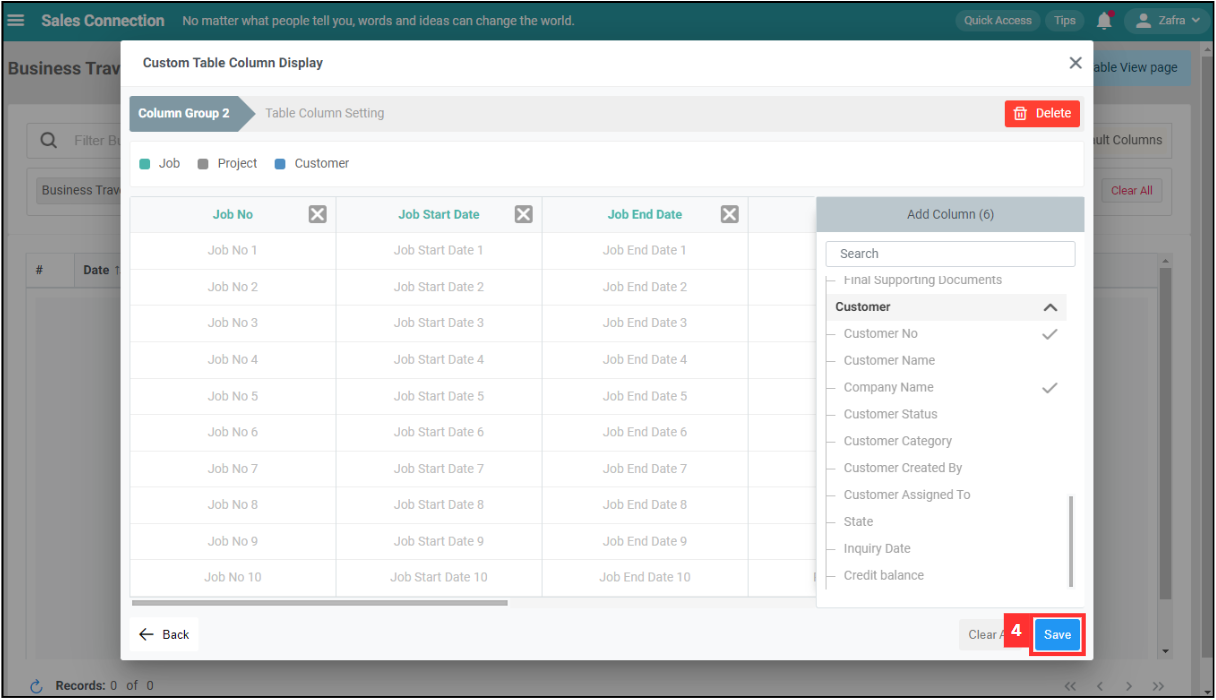
Click “Default Columns”.
-
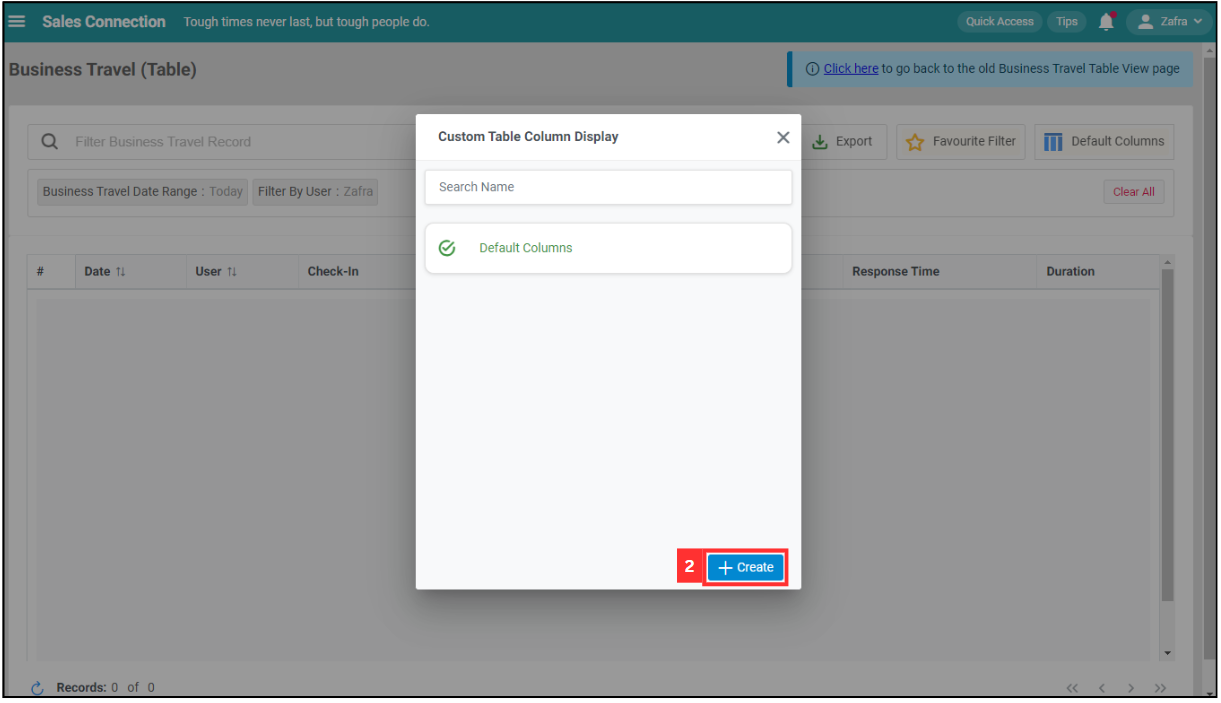
Click “+ Create”.
-
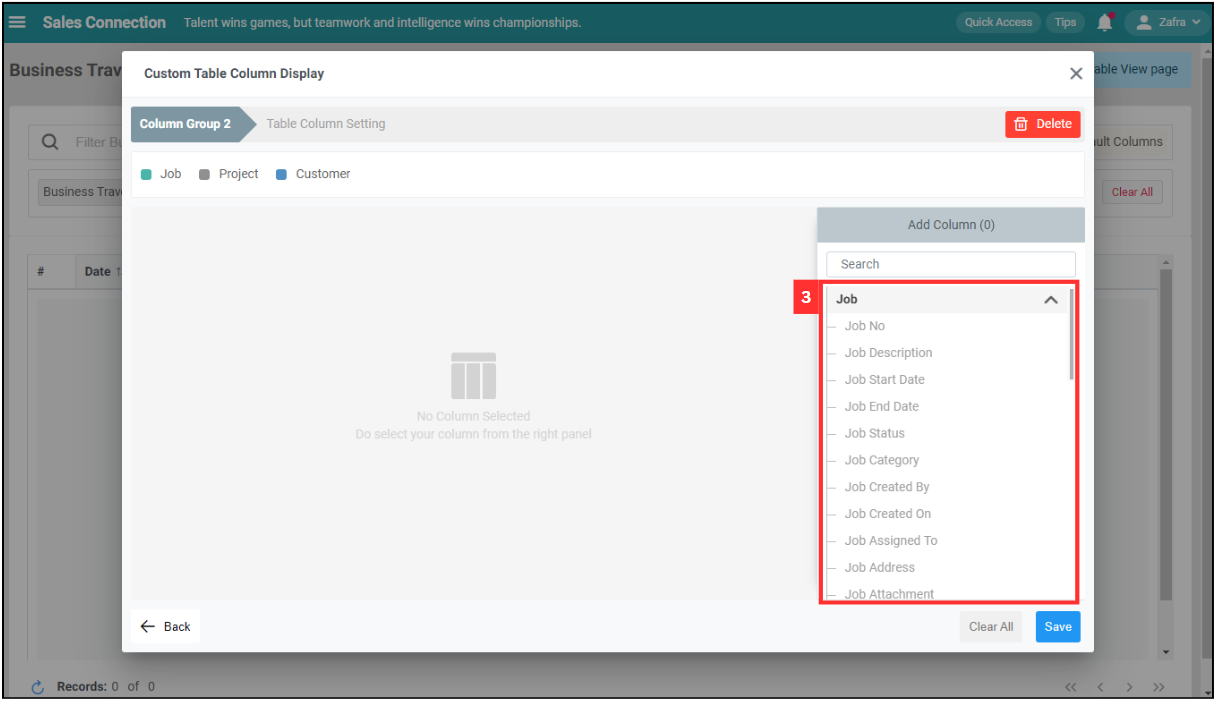
Select the columns you want to add.
-
Click on the “Save” button.
-
The default column has been saved successfully.
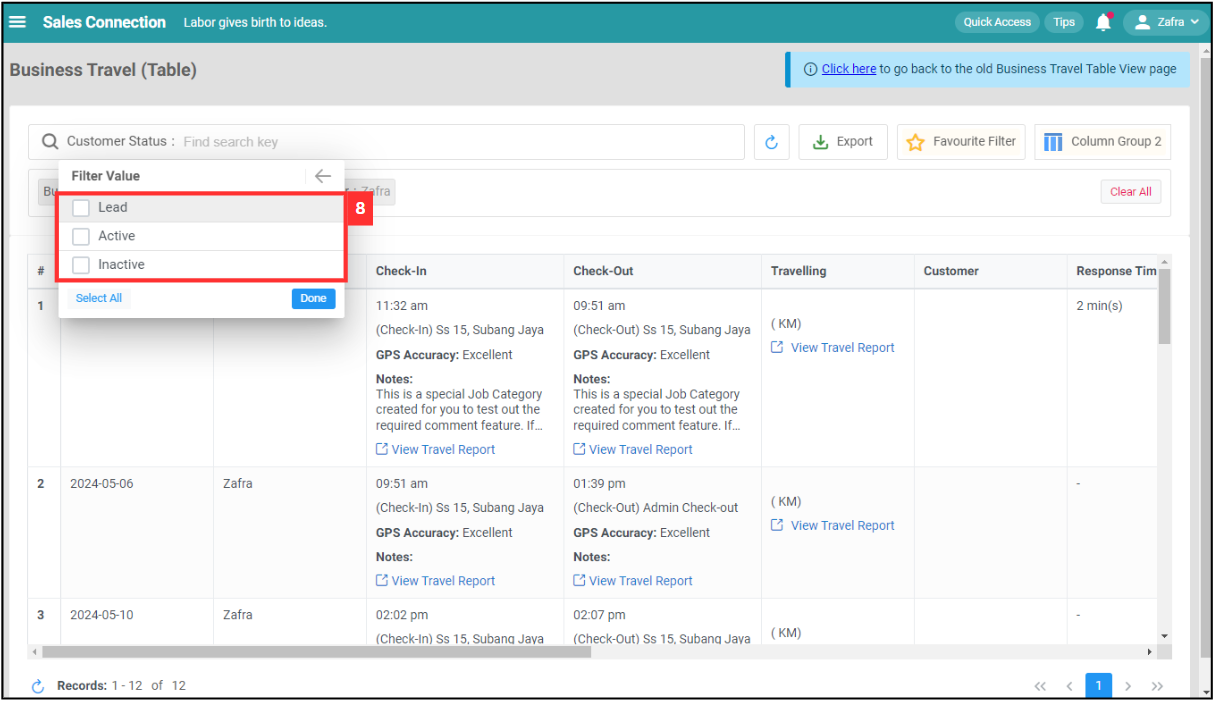
Filter
-
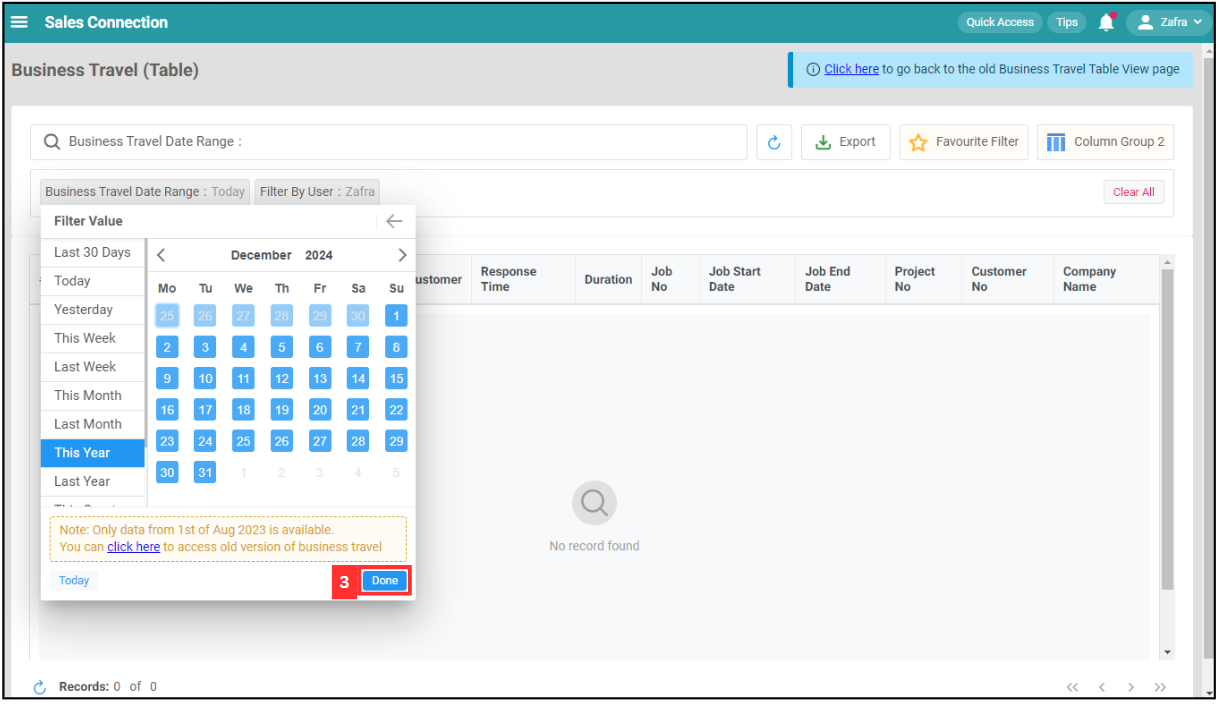
Click on the filter you want to change. For example, click “Business Travel Date Range”.
*Note: Filter options (such as filter by user) depends on your user account access and account type. Please request permission or help from your admin if you do not have access to certain filter options.
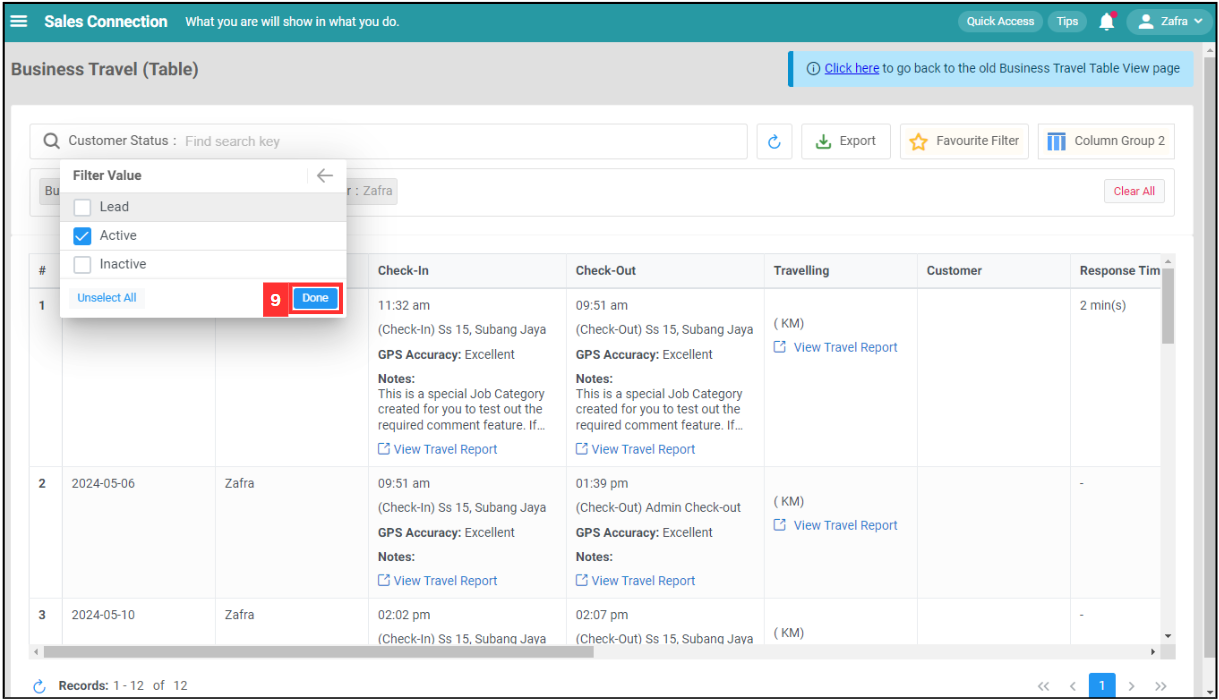
-
Click on the filter value you want.

-
Click on the “Done” button.
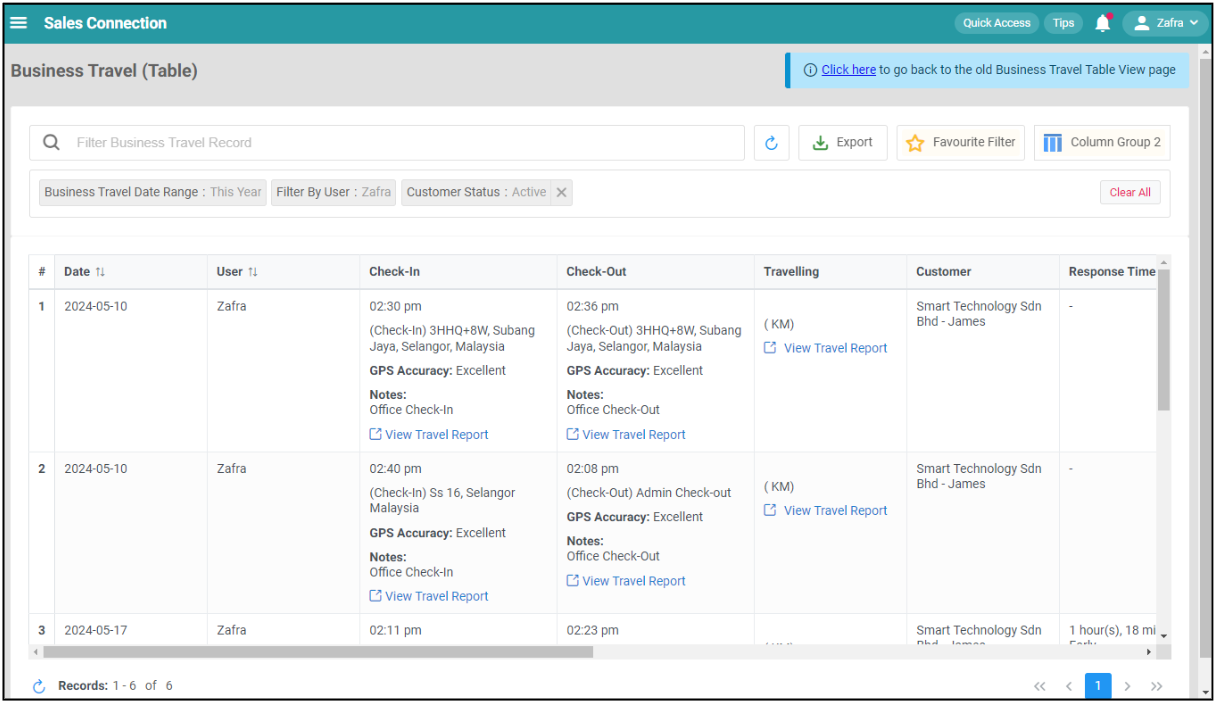
-
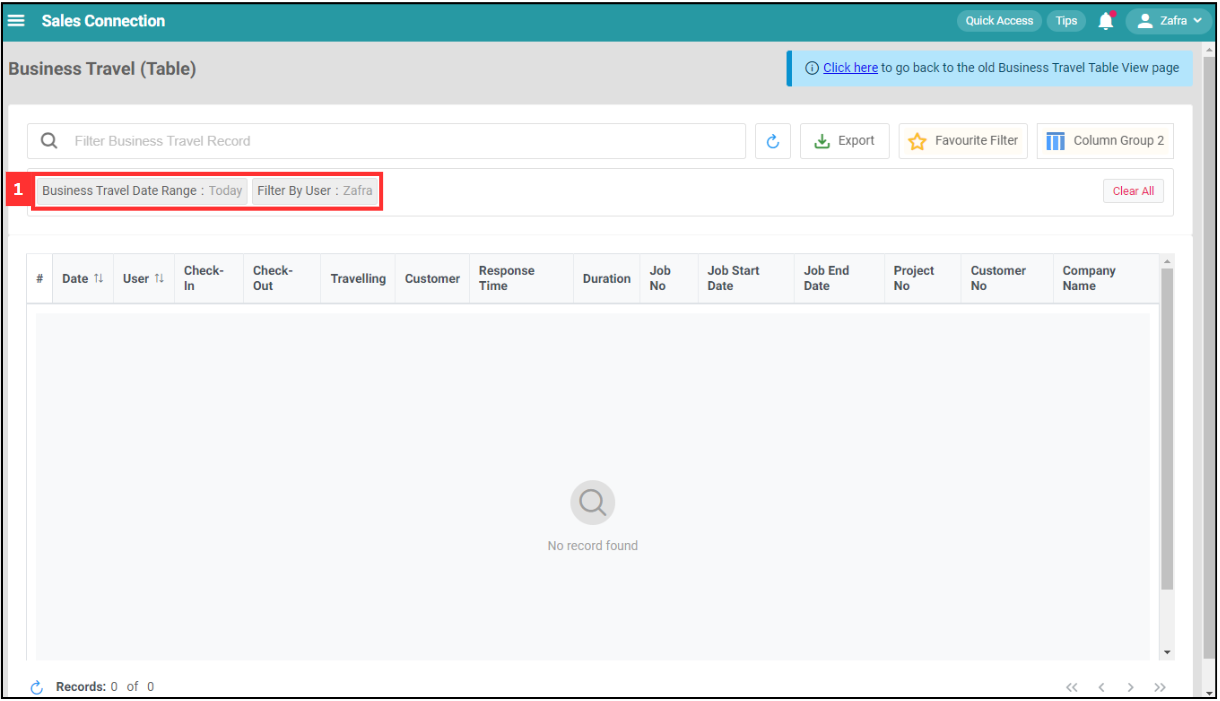
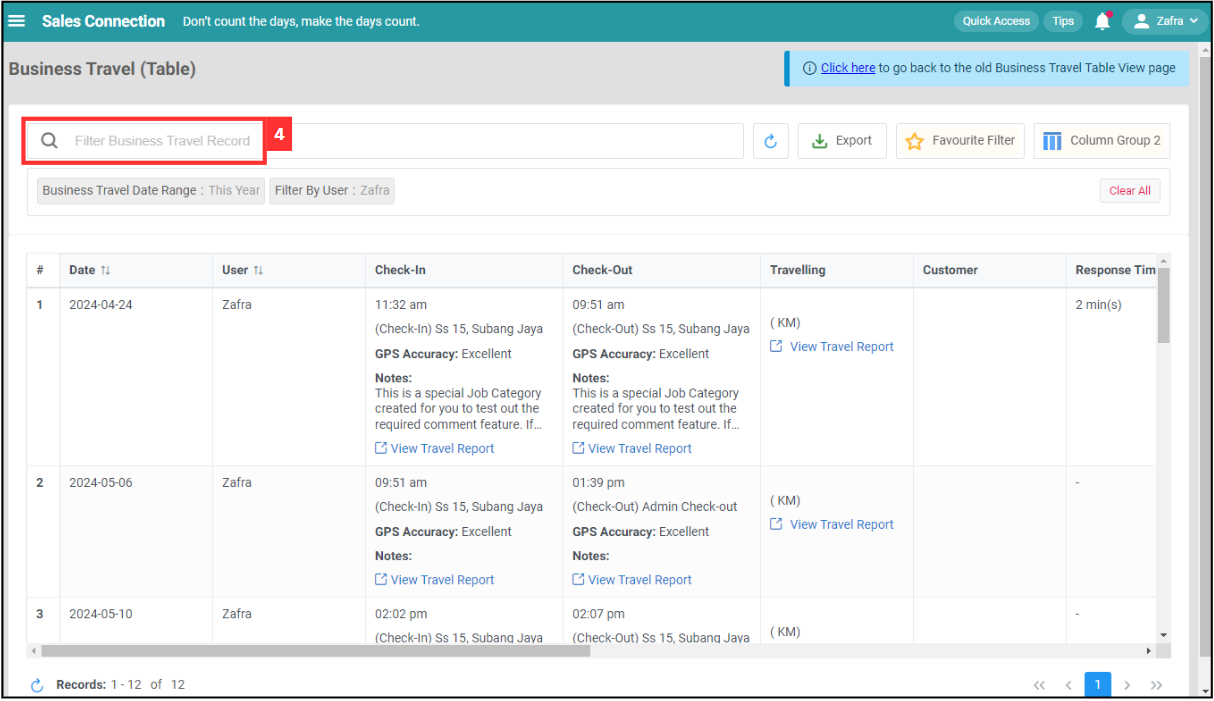
To filter other value, click “Filter Business Travel Record”.
-
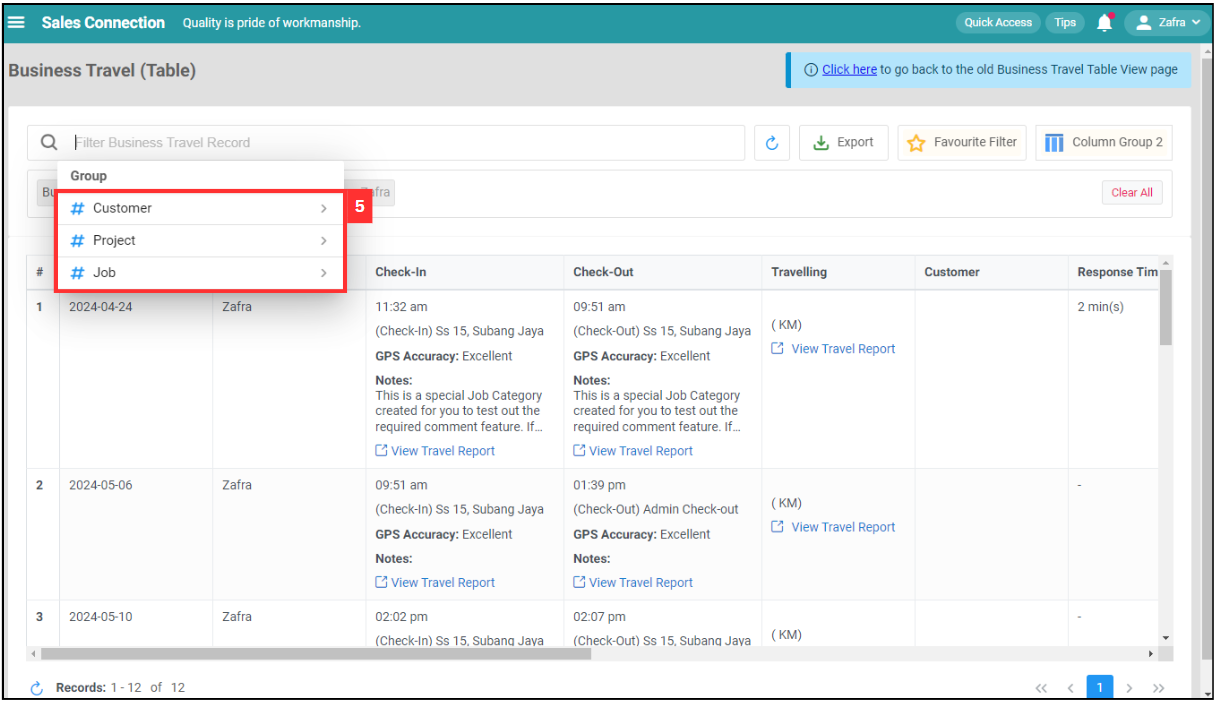
Click on the group you want to filter.
-
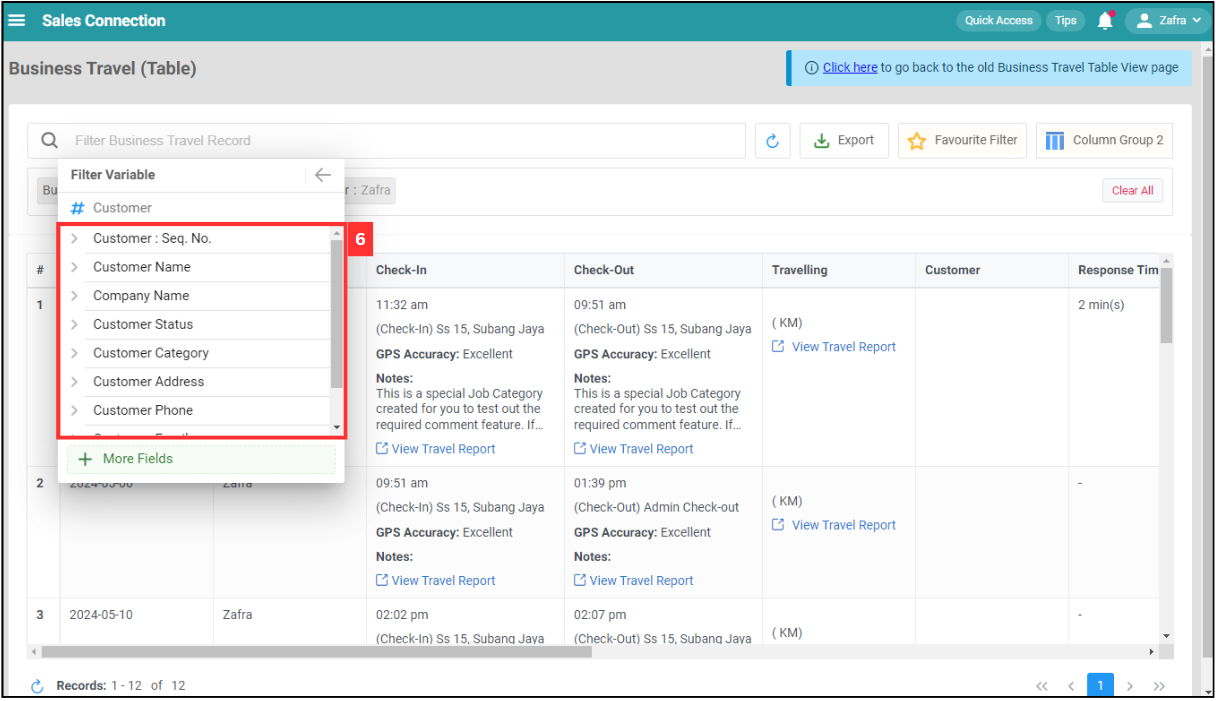
Click “Filter Variable” you want to filter.
-
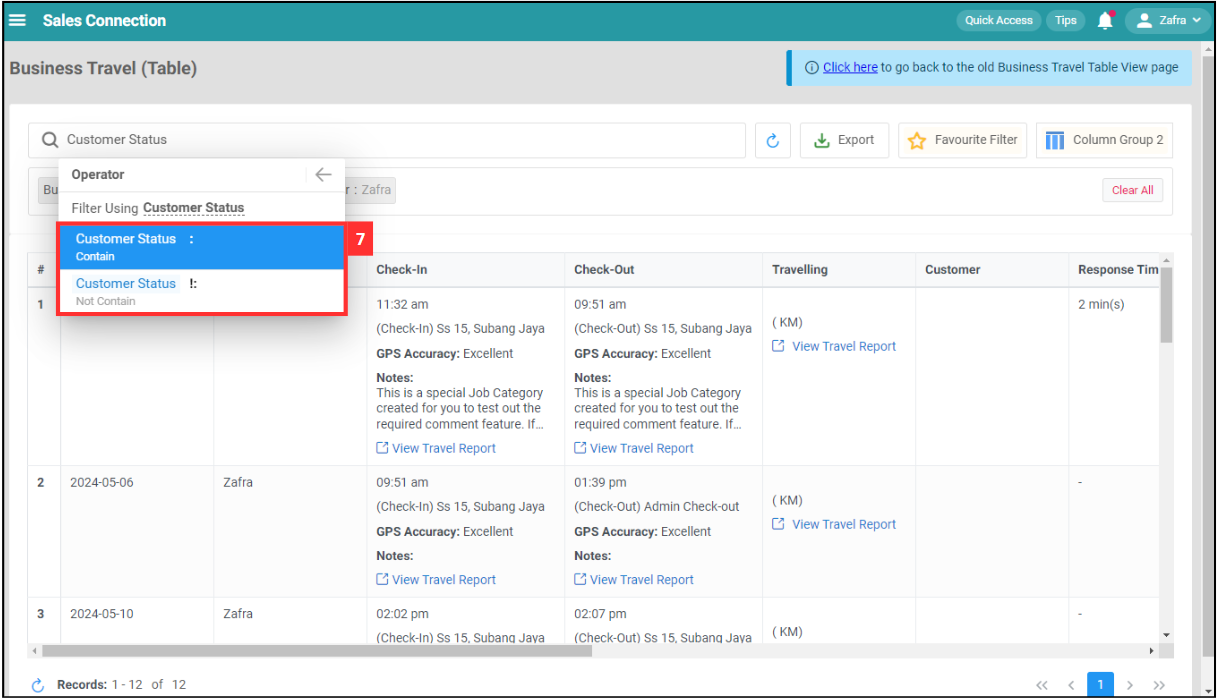
Click on the “Operator”.
-
Select the “Filter Value” you want.
-
Click on the “Done” button.
-
The filter result will be shown as below.
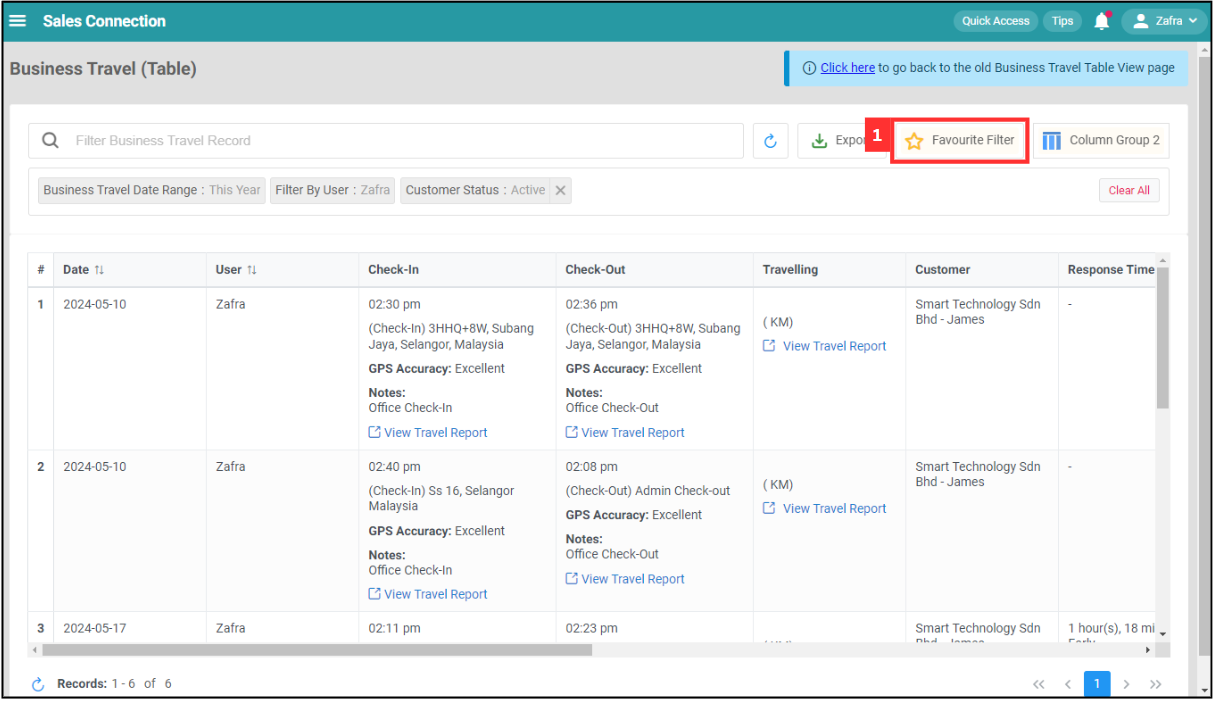
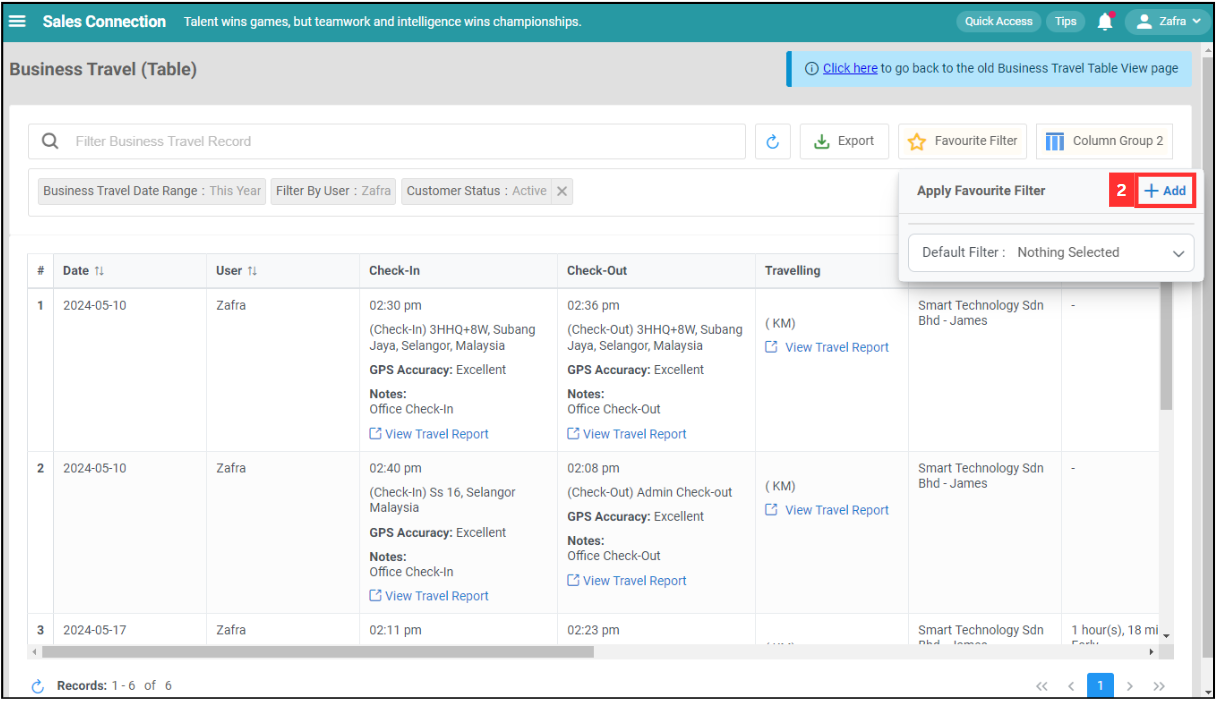
Favourite Filter
-
Click “Favourite Filter”.
-
Click “+ Add”.
-
Enter the name of the favourite filter.
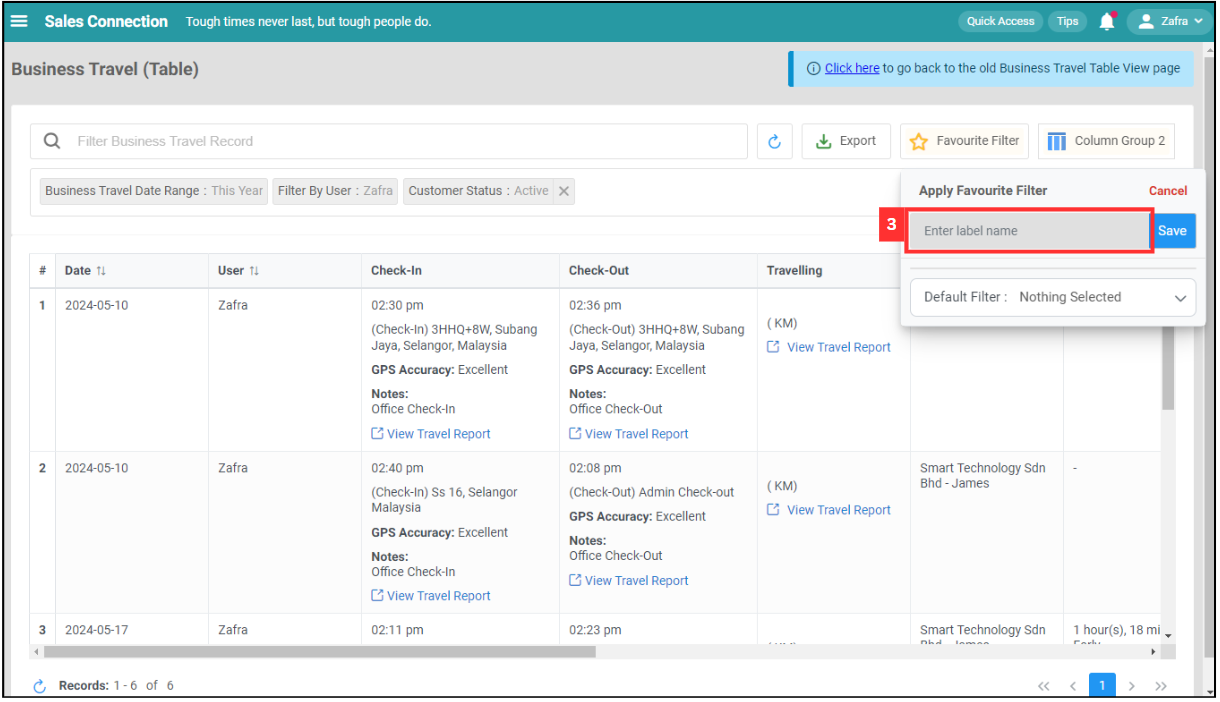
-
Click on the “Save” button.
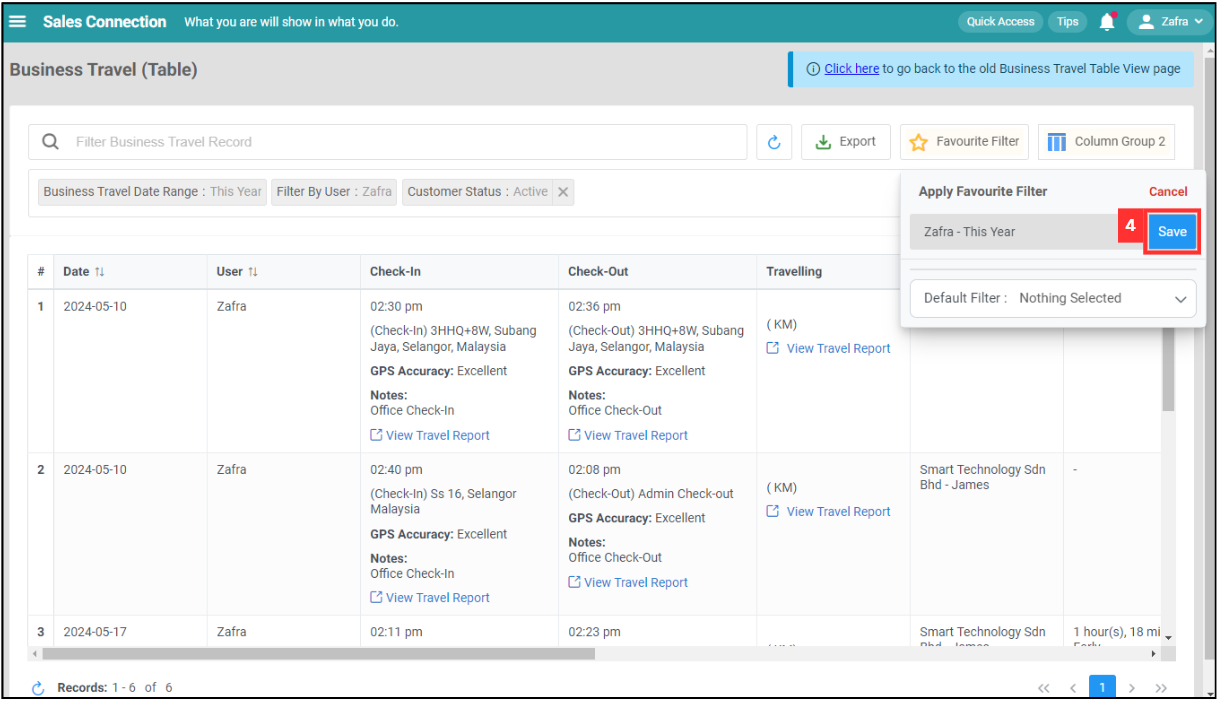
-
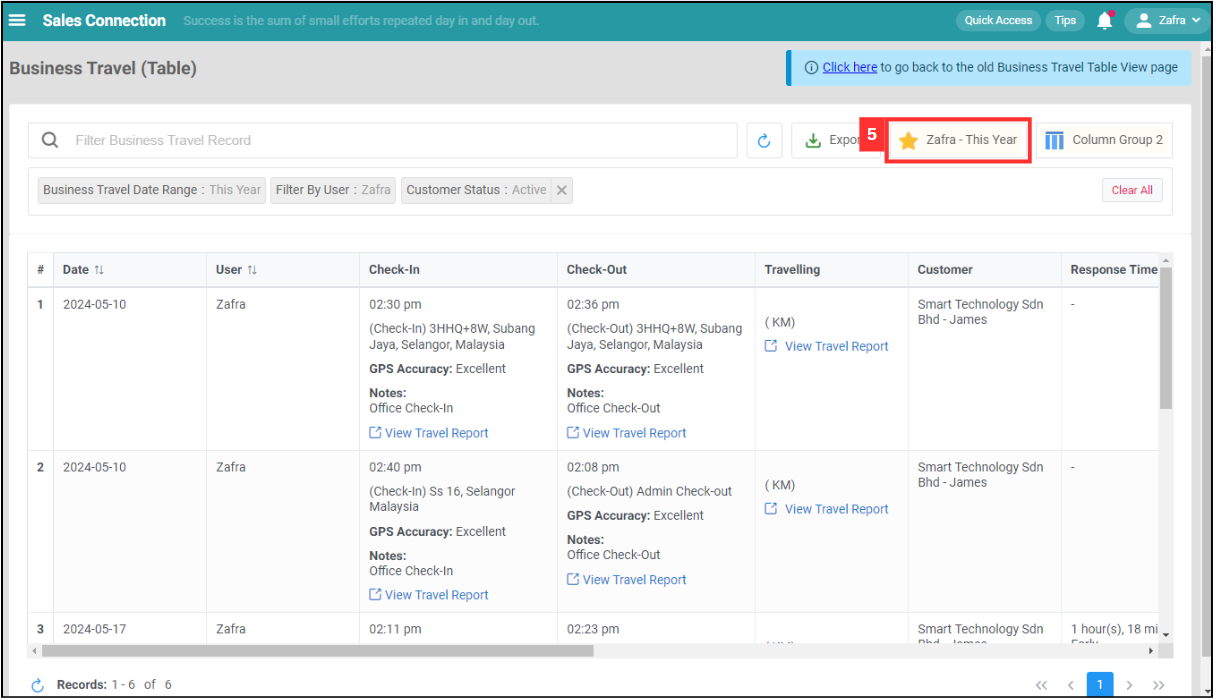
The favourite filter has been saved successfully.
Default Filter
-
Click “Favourite Filter”.

-
Click “Default Filter”.
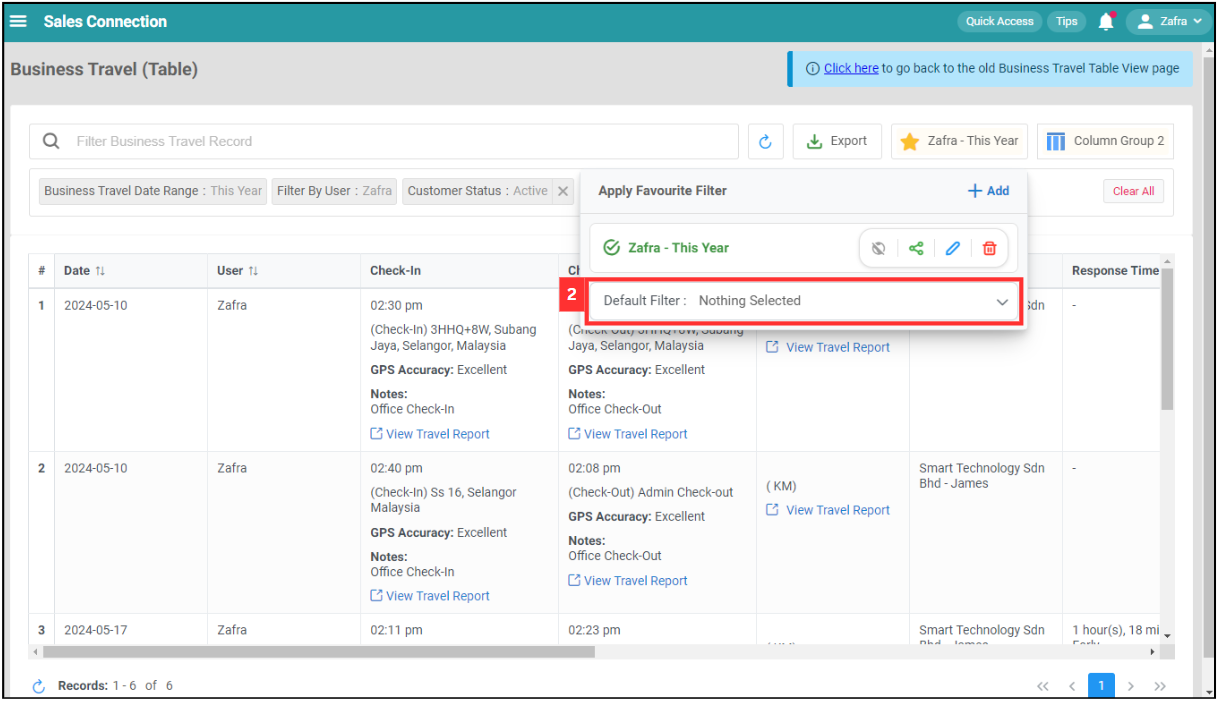
-
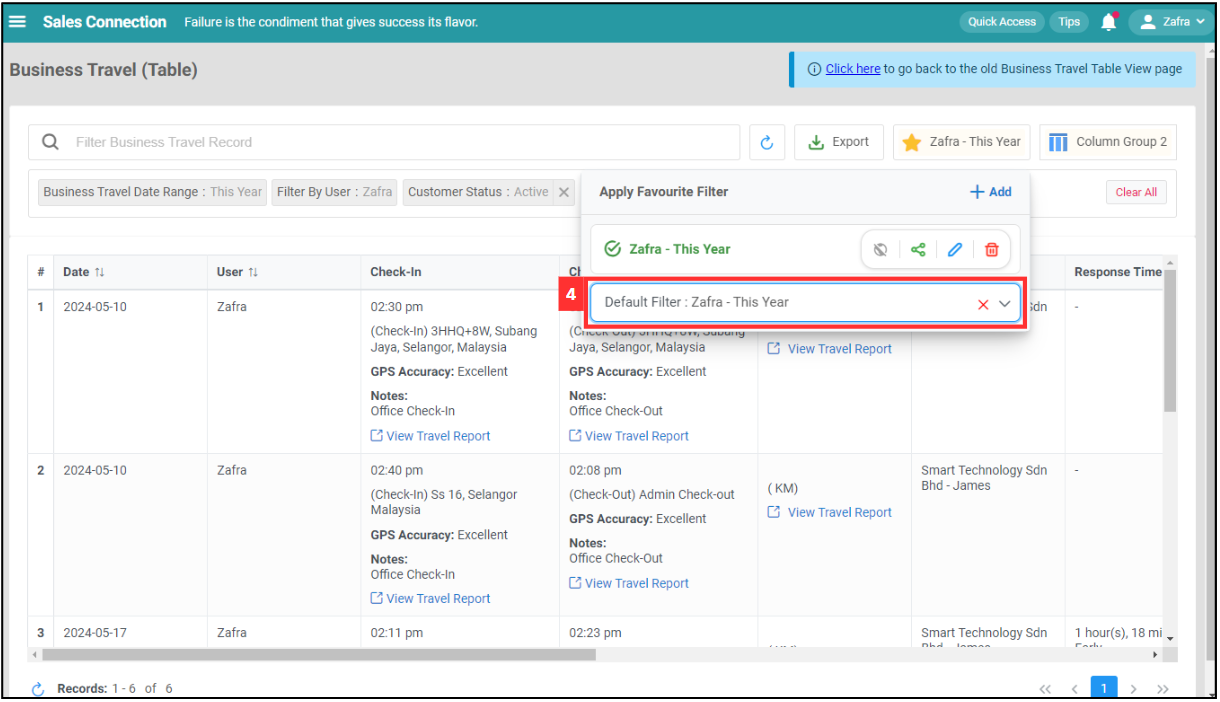
Click on the favourite filter you want to set as default filter.
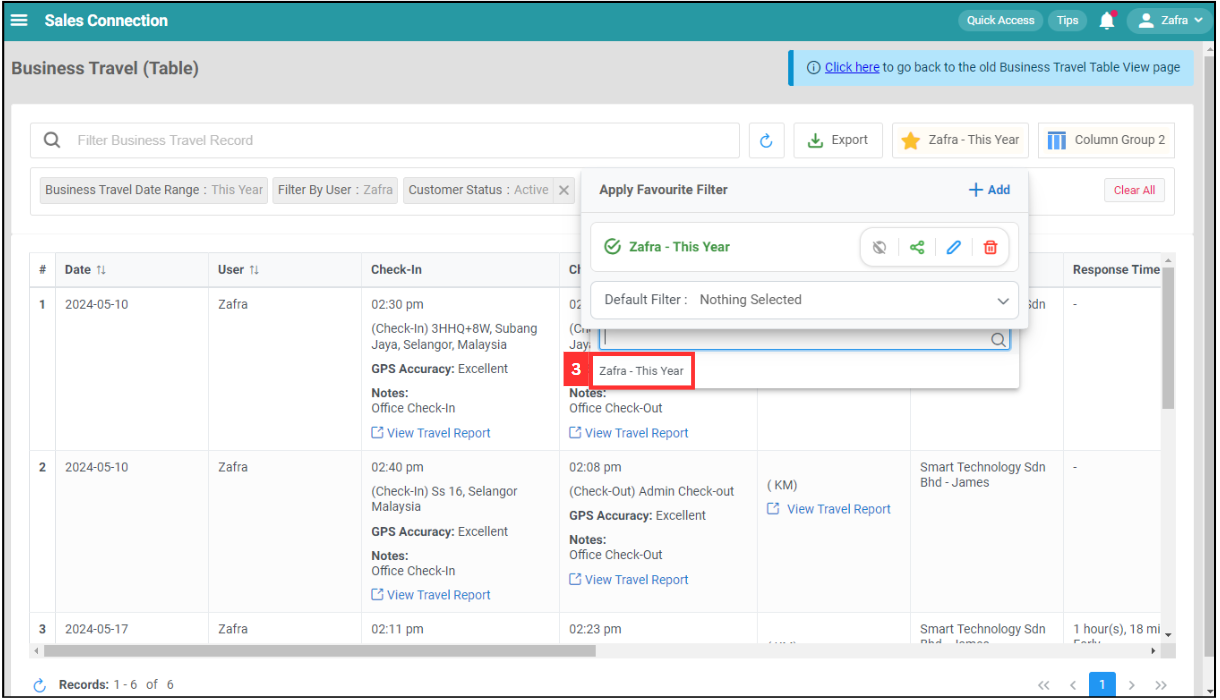
-
The default filter has been saved successfully.
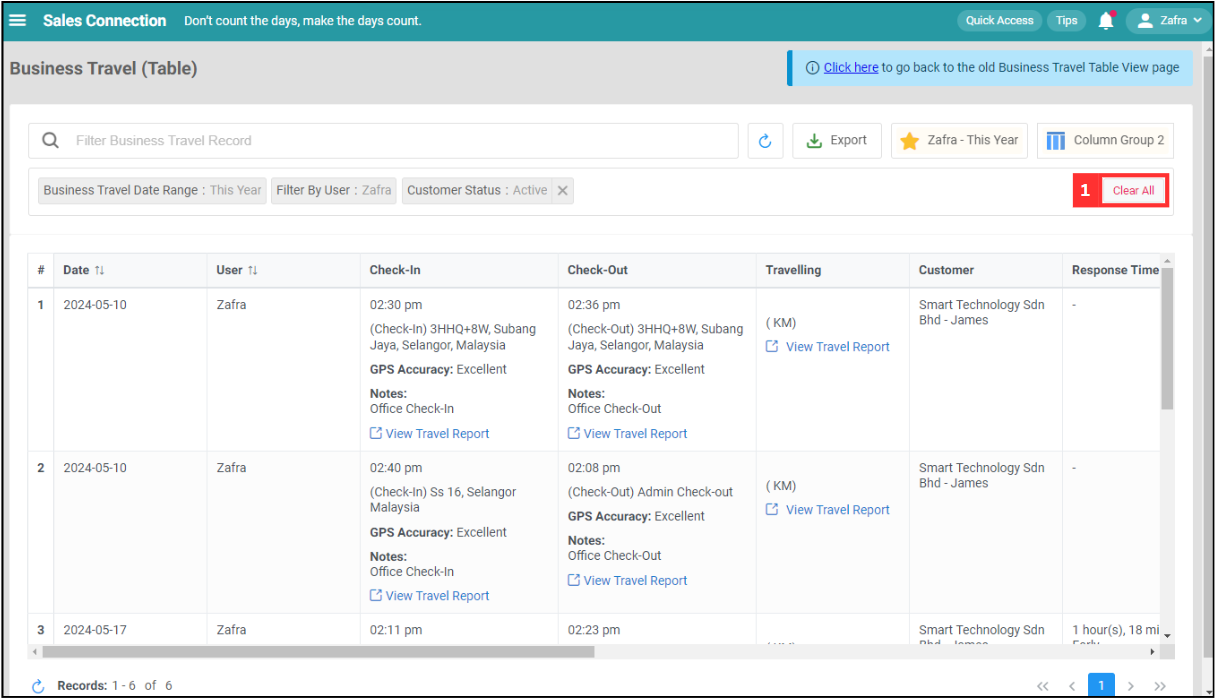
Clear All Filter
-
If you want to clear all filters that you have applied manually, click “Clear All” and all filters will be cleared.
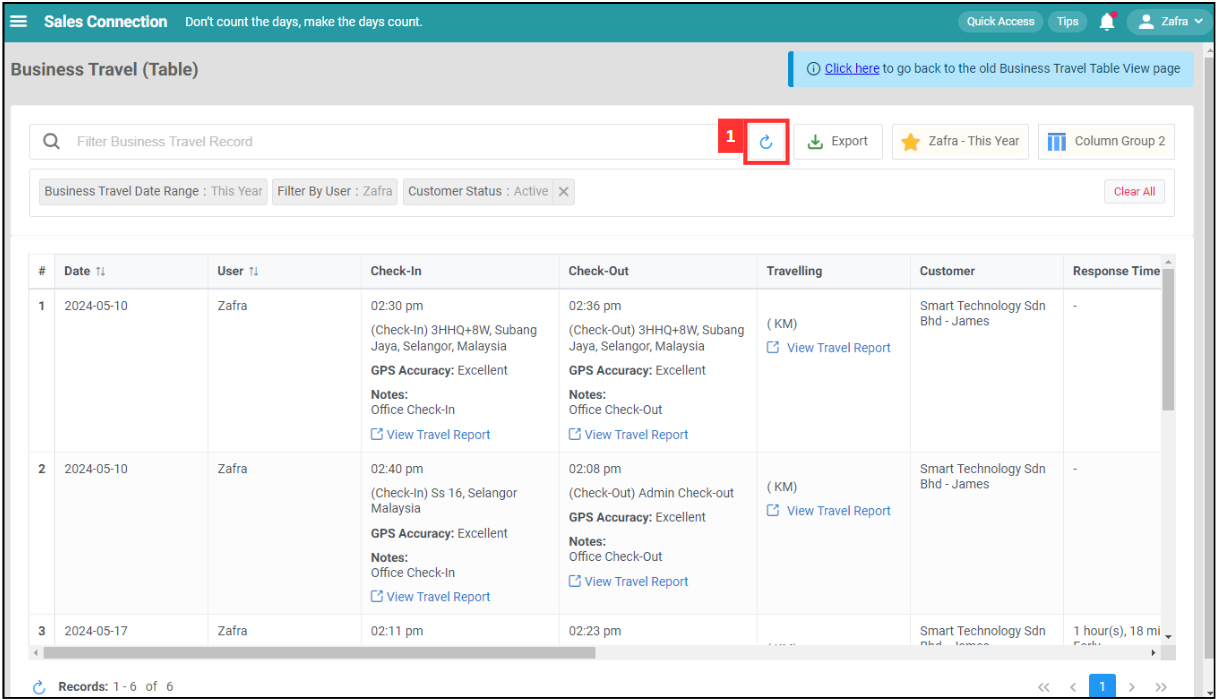
Refresh
-
Click the “Refresh” button to ensure all the information is the latest.
Export
-
Click the “Export” button to export the Business Travel Record.
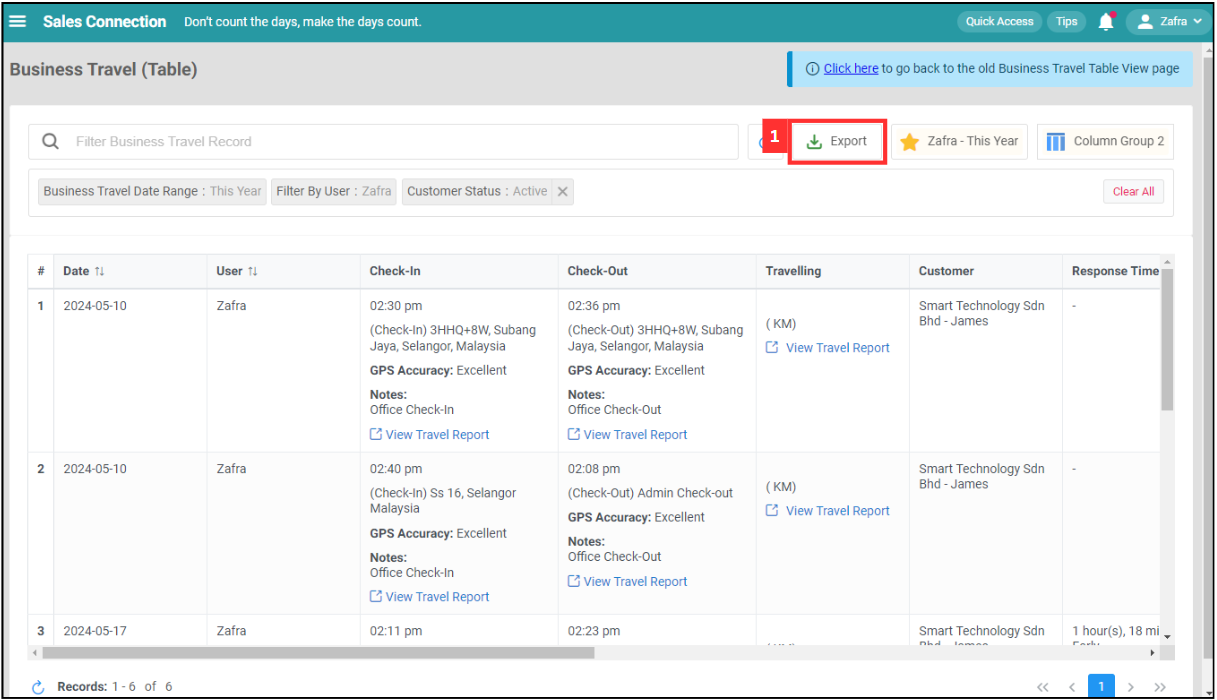
*Note: You must have access to export data to perform this action. Please request permission or help from your admin if you do not have access.
Related Articles